Deploy moves your WordPress site to any hosting provider or server, straight from the plugin. It has three parts: point it at your destination, verify you own the server, then add the database details.
PART 1 · DESTINATION
Enter your destination URL
PART 2 · VERIFY
Upload the verification file
PART 3 · DATABASE
Add your database details
PART 1 Destination
Start the migration
Log into the WordPress dashboard of the site you want to move and click Start Migration.
Enter the URL of your destination site.
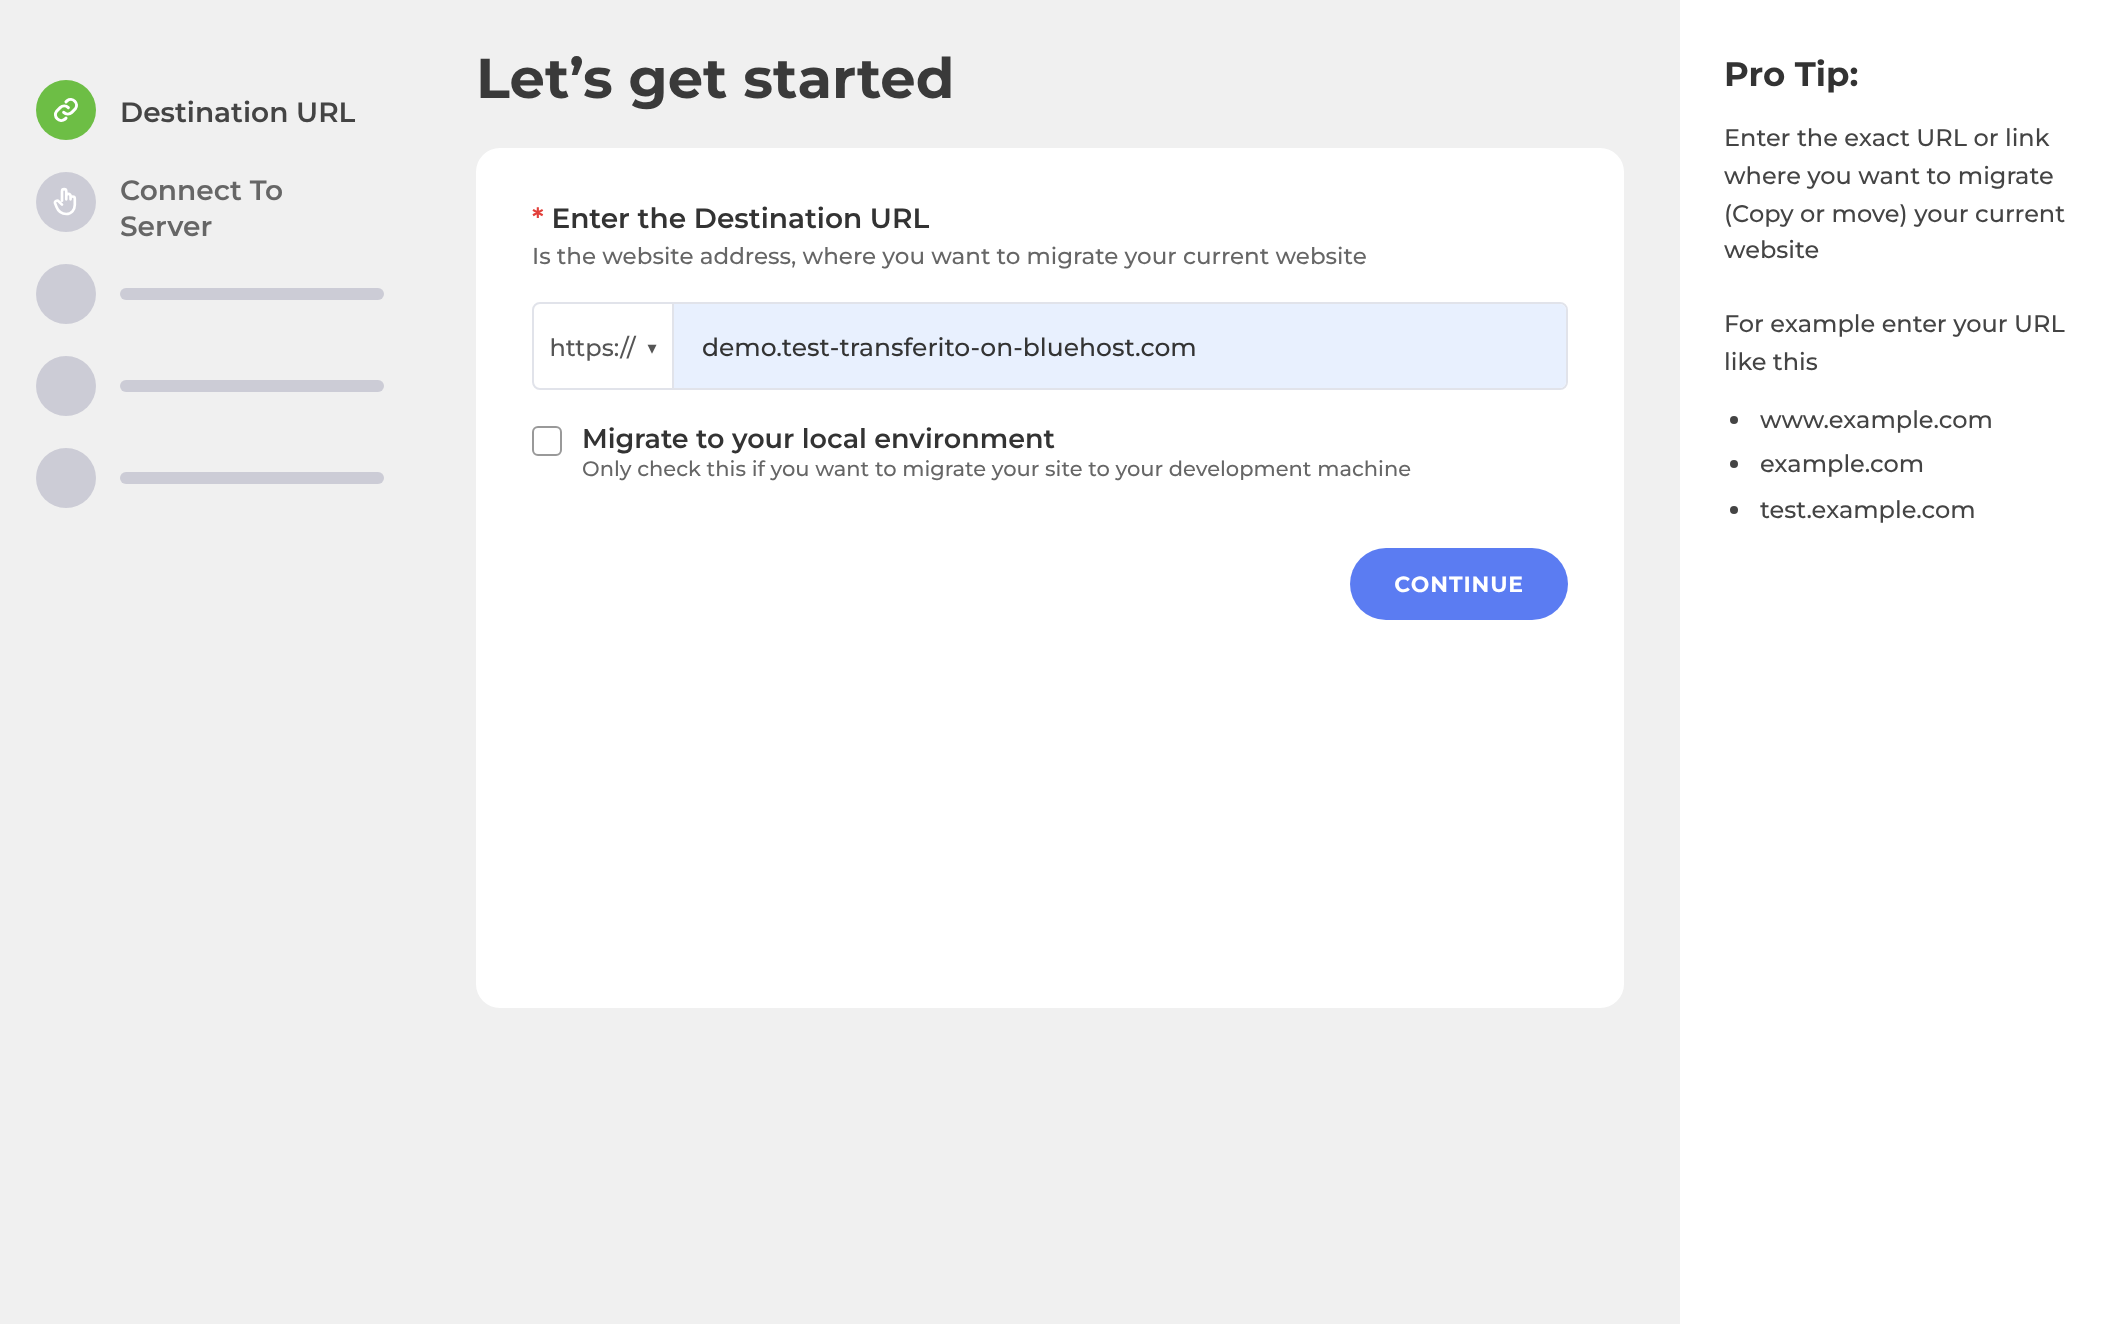
Transferito tries to connect to your destination server automatically. If it can’t, the Connect to your server screen appears. Carry on with Part 2.
PART 2 Verify your server
Connect to your destination server
To prove you own the destination server, upload a small verification file to it.
Click the blue download button to get your verification file.
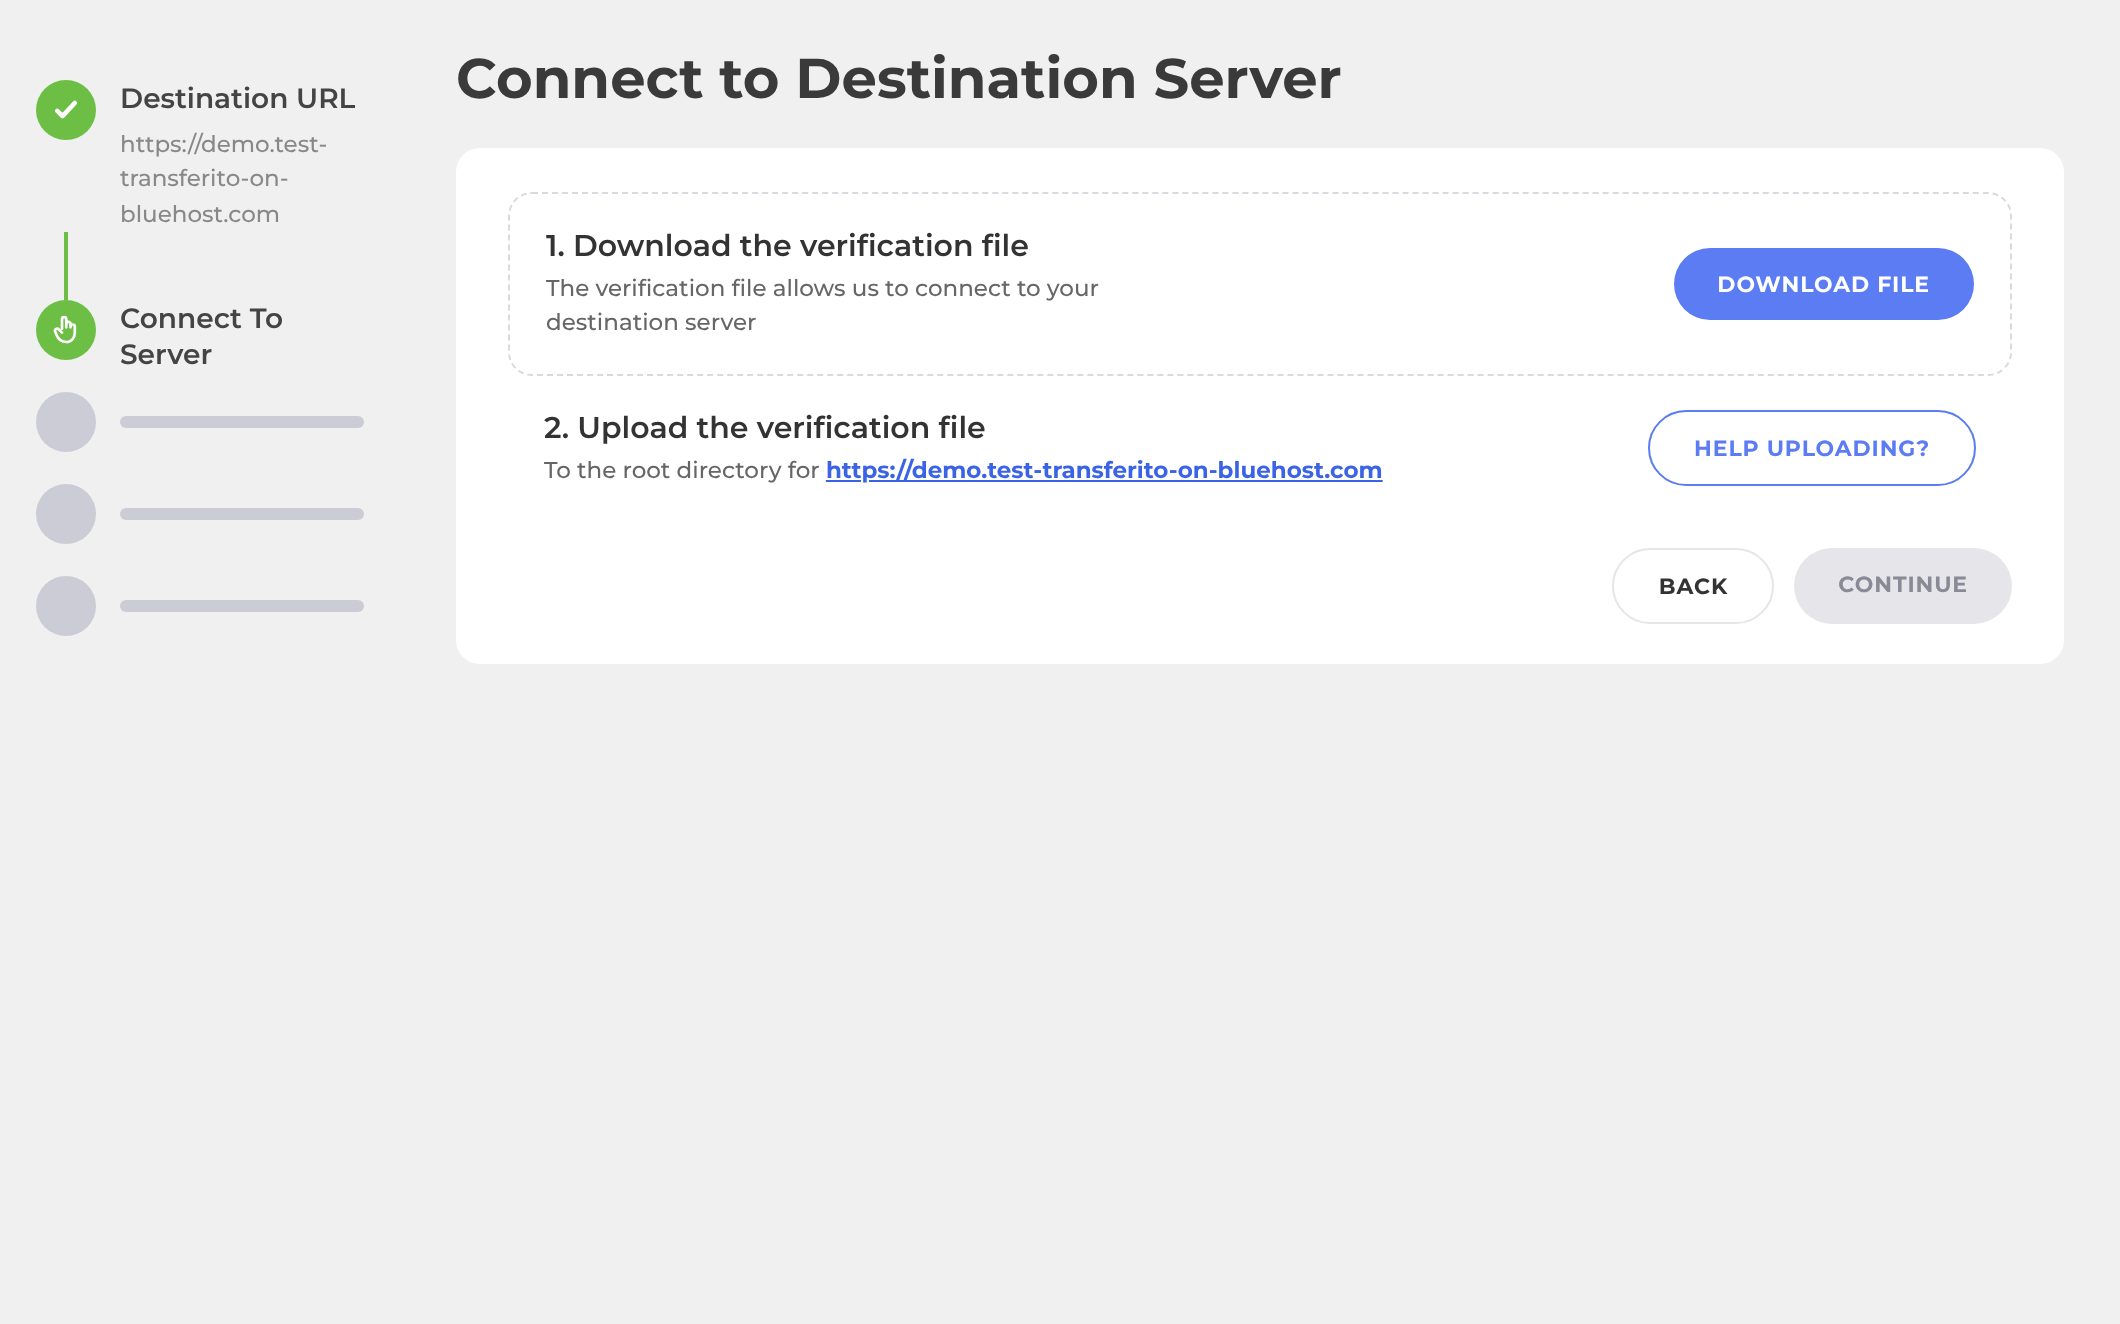
The plugin now checks your server in real time, watching for the file to arrive.
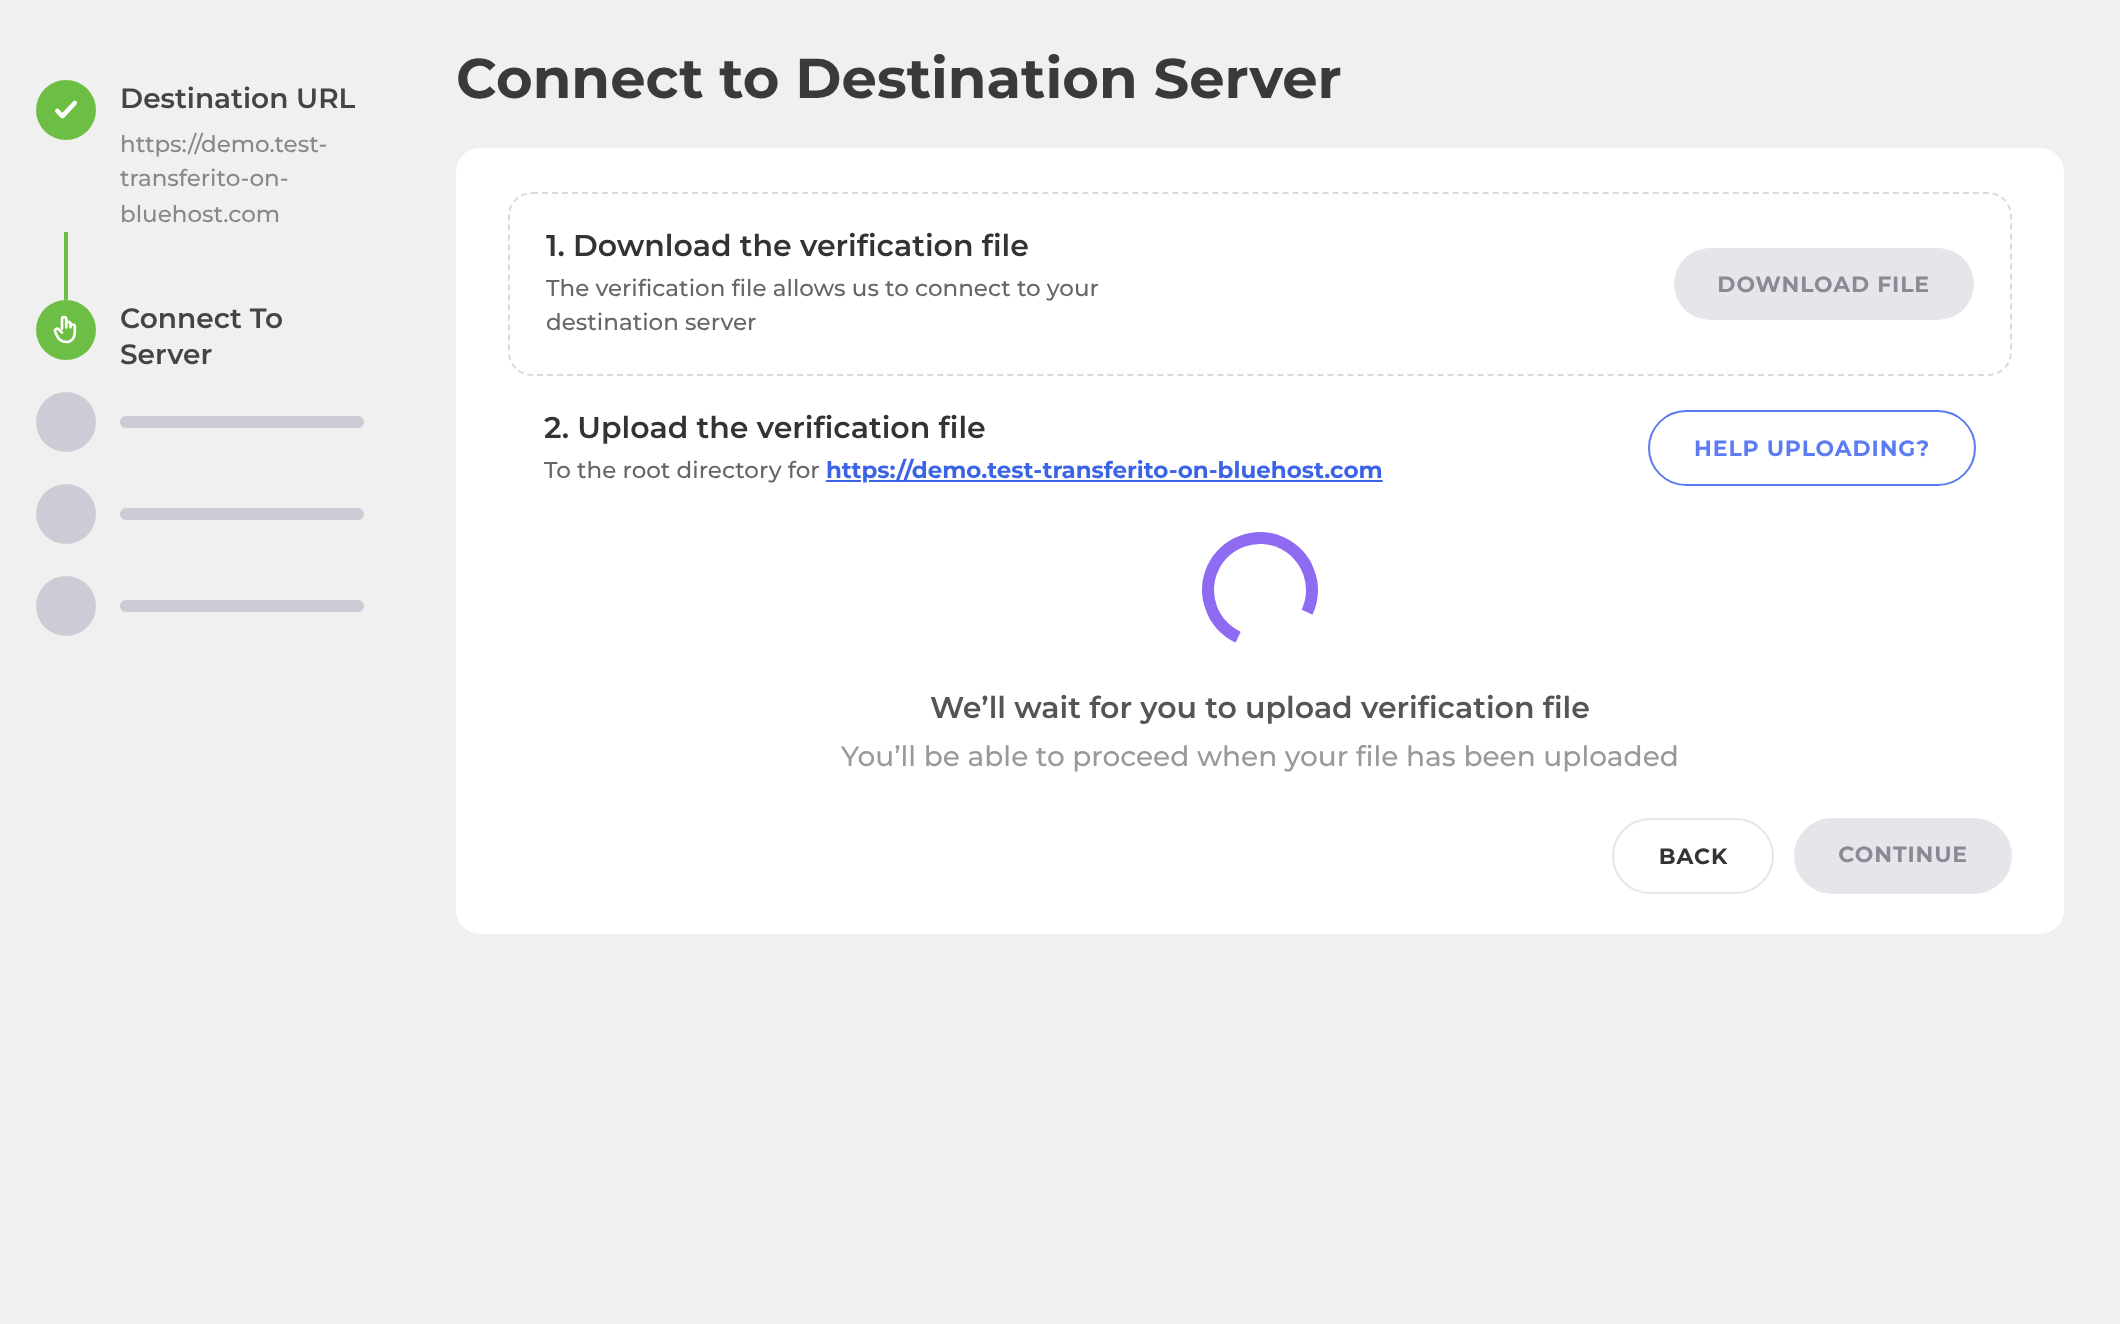
Find the file in your Downloads folder. Its name starts with
transferito_verification_followed by a unique hash.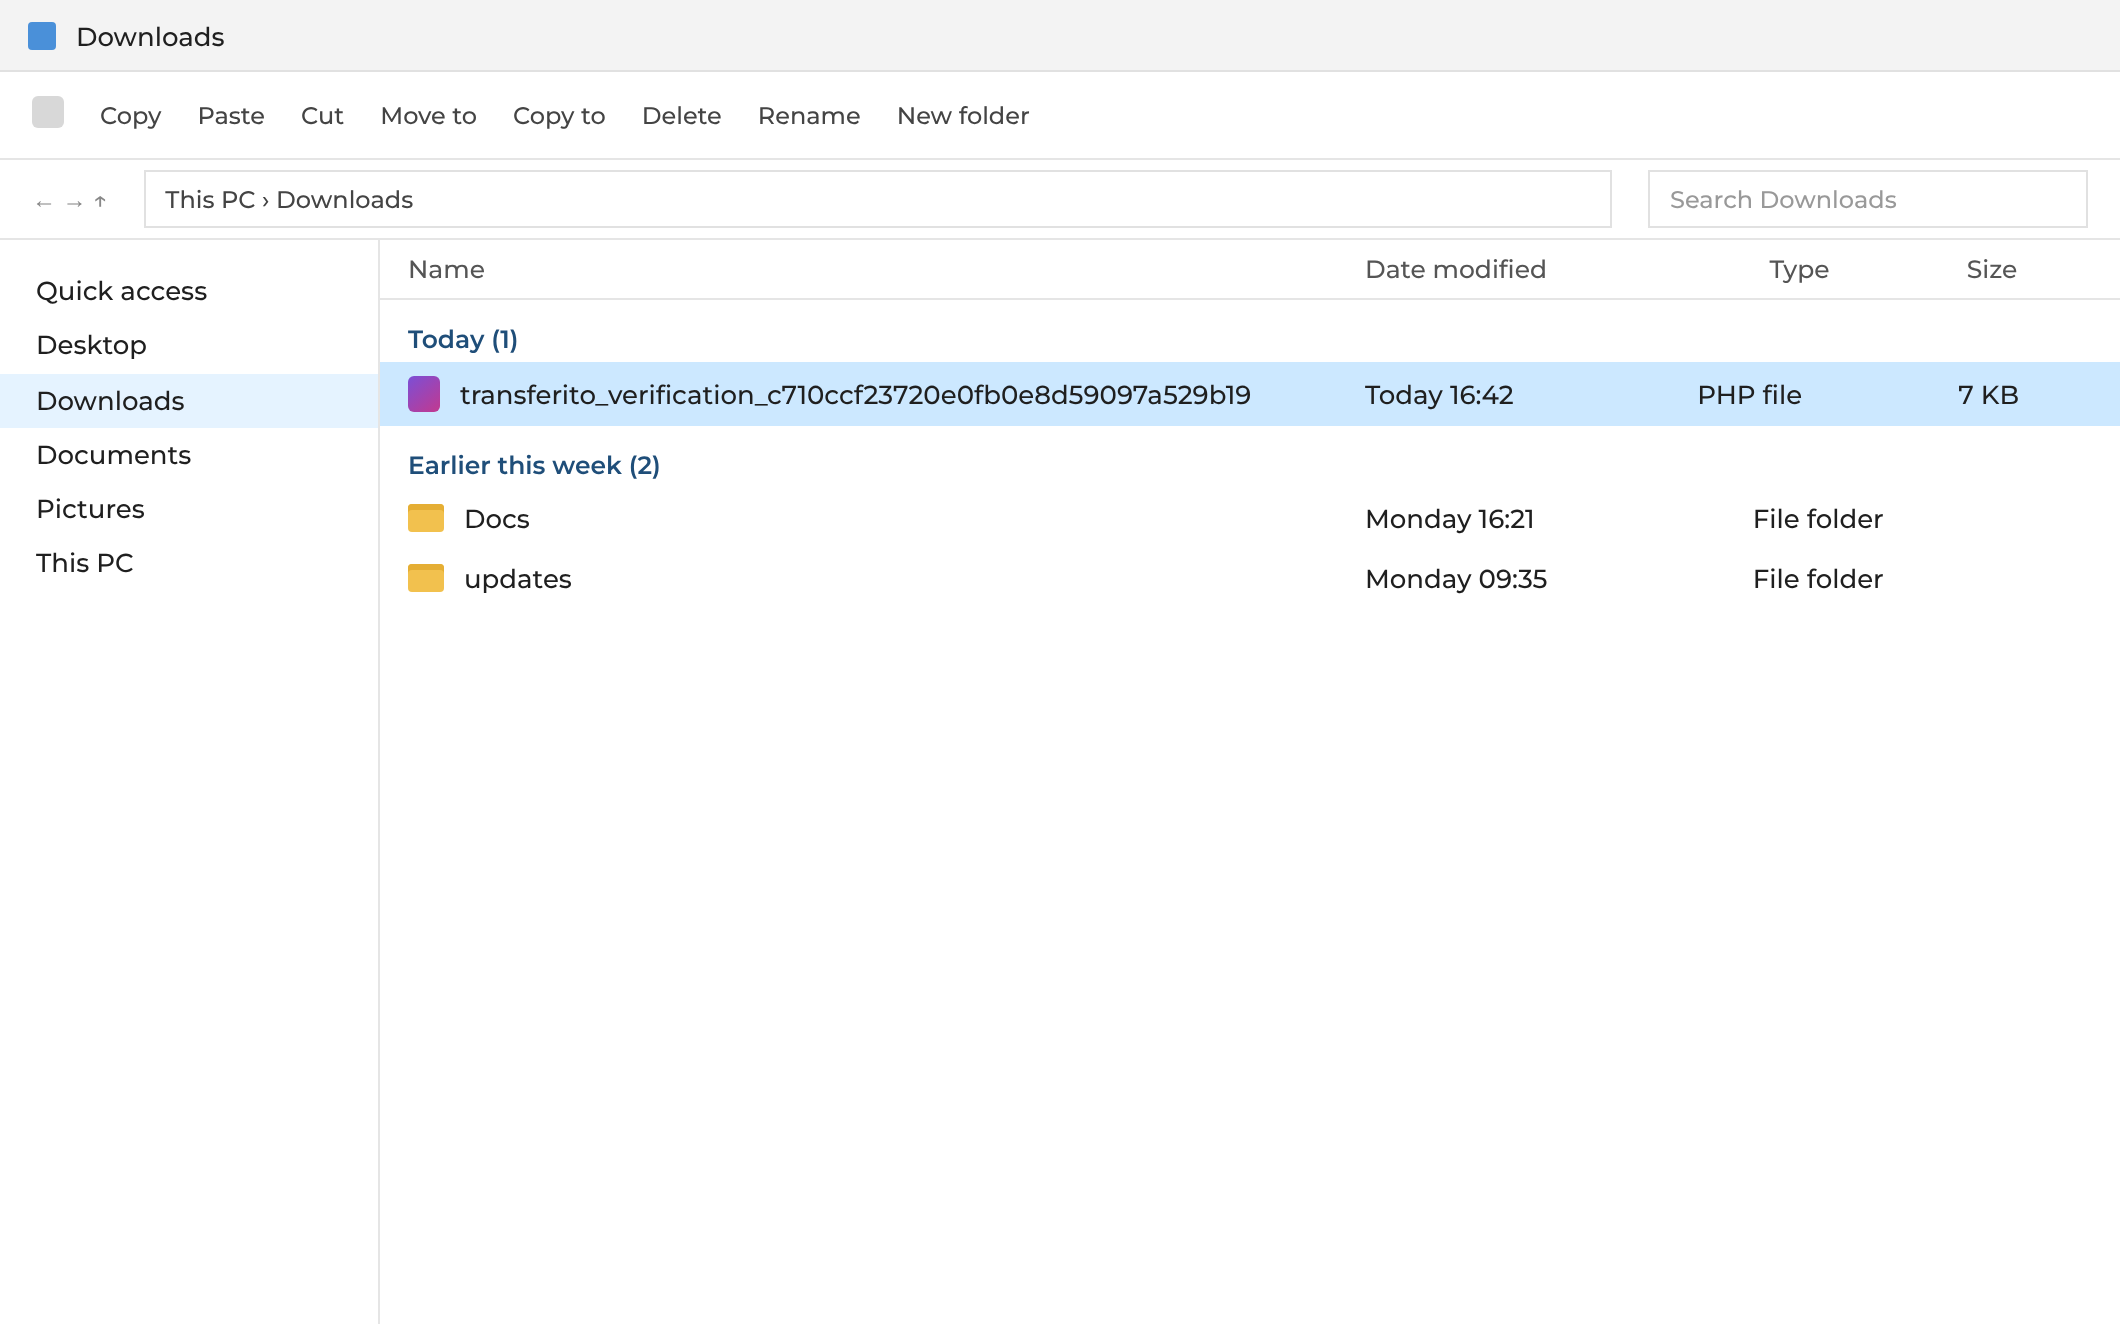
Open your FTP client and go to the root directory of your destination domain.
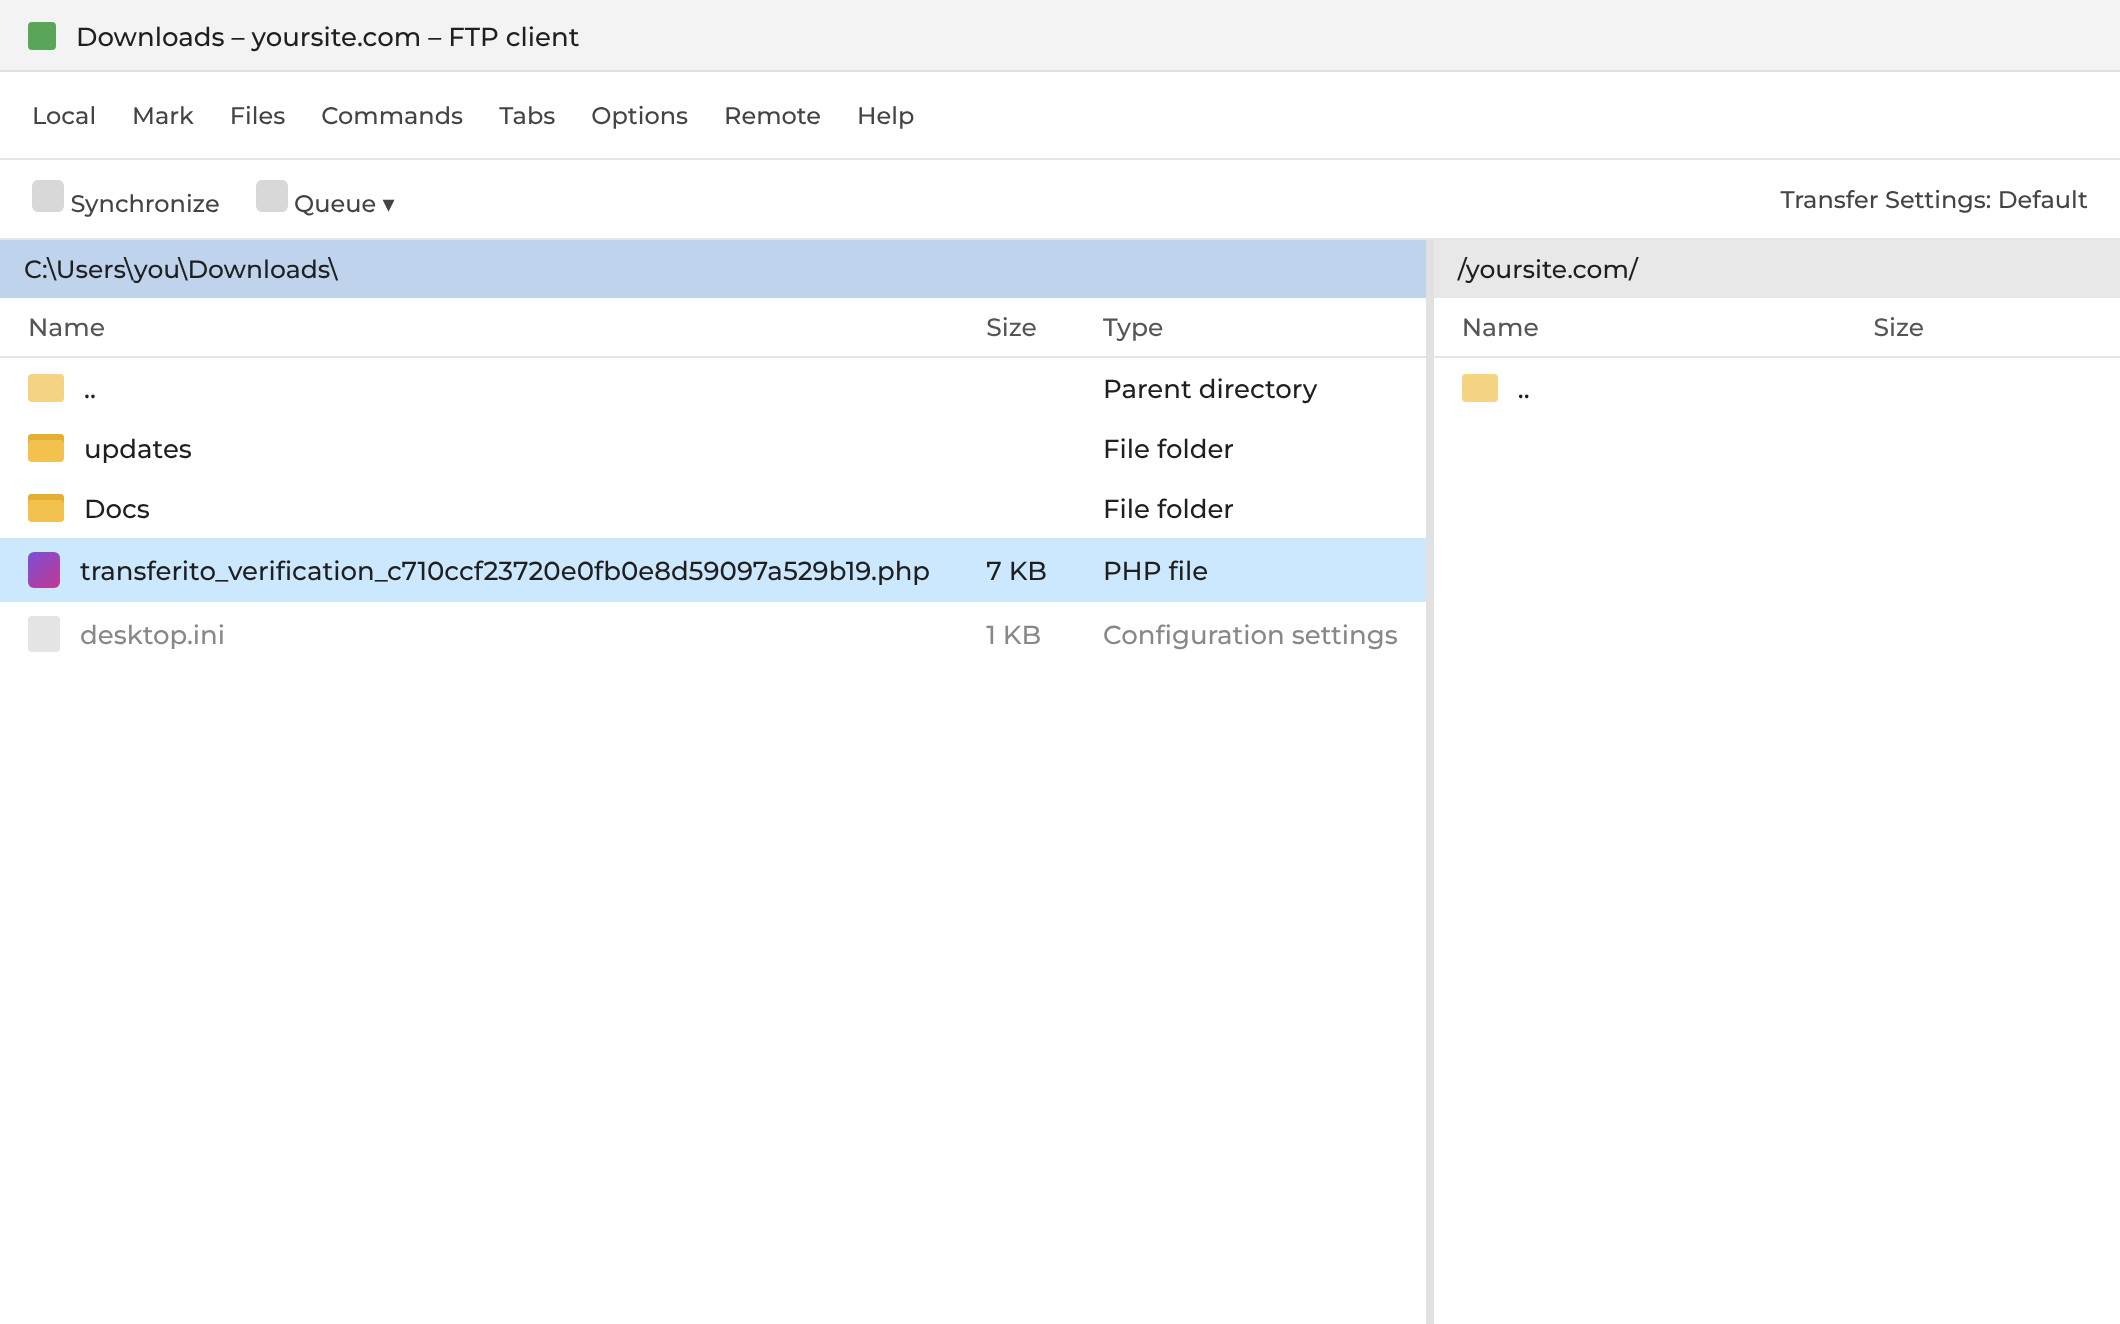
Upload the verification file to that root directory.
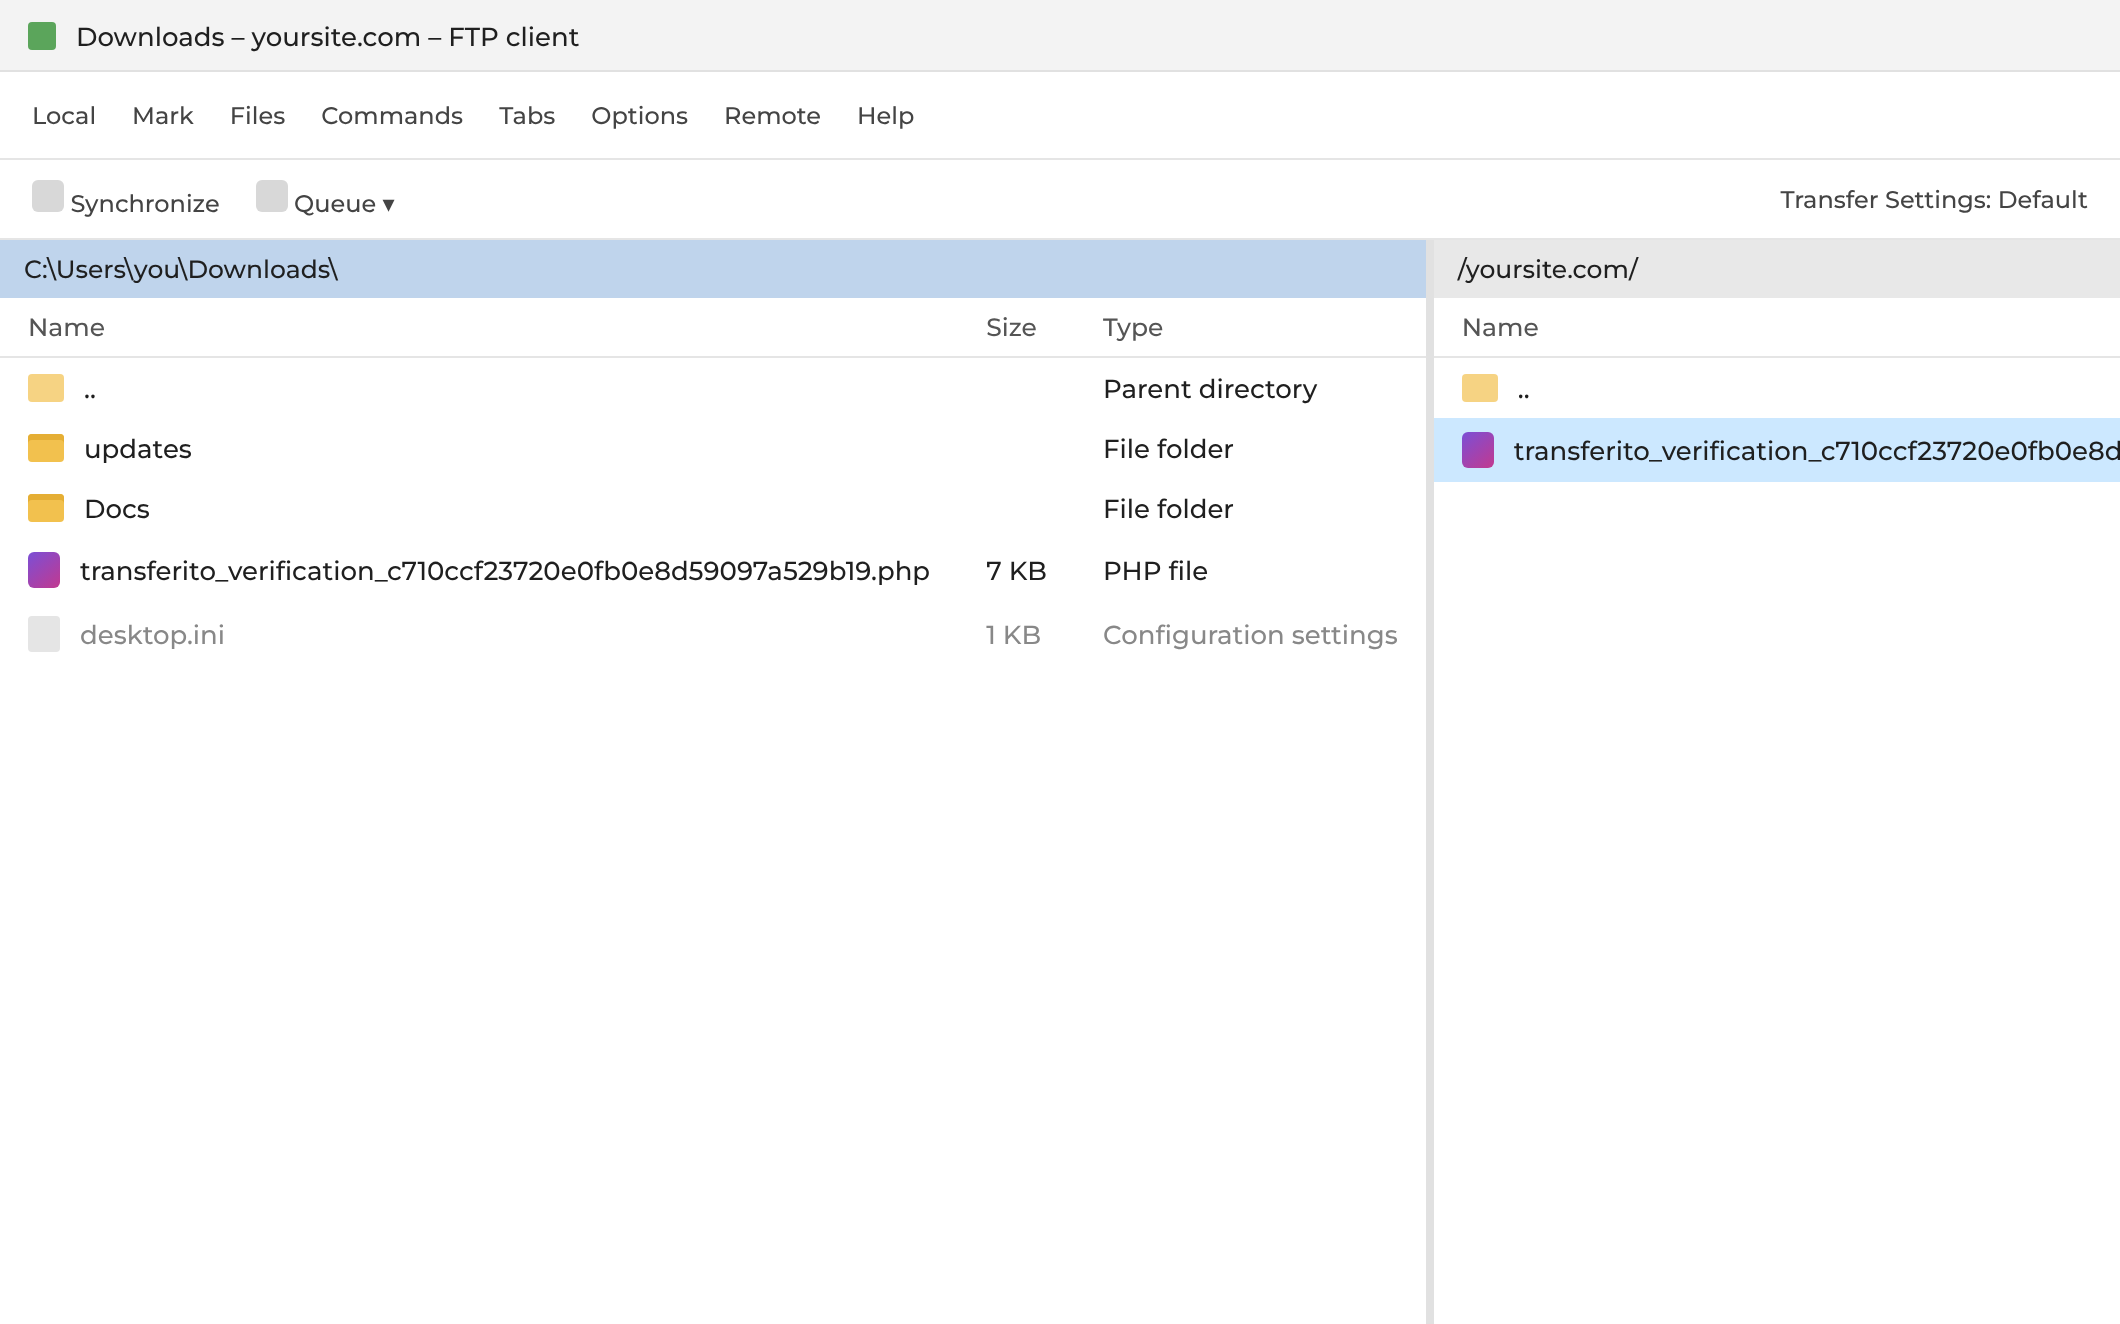
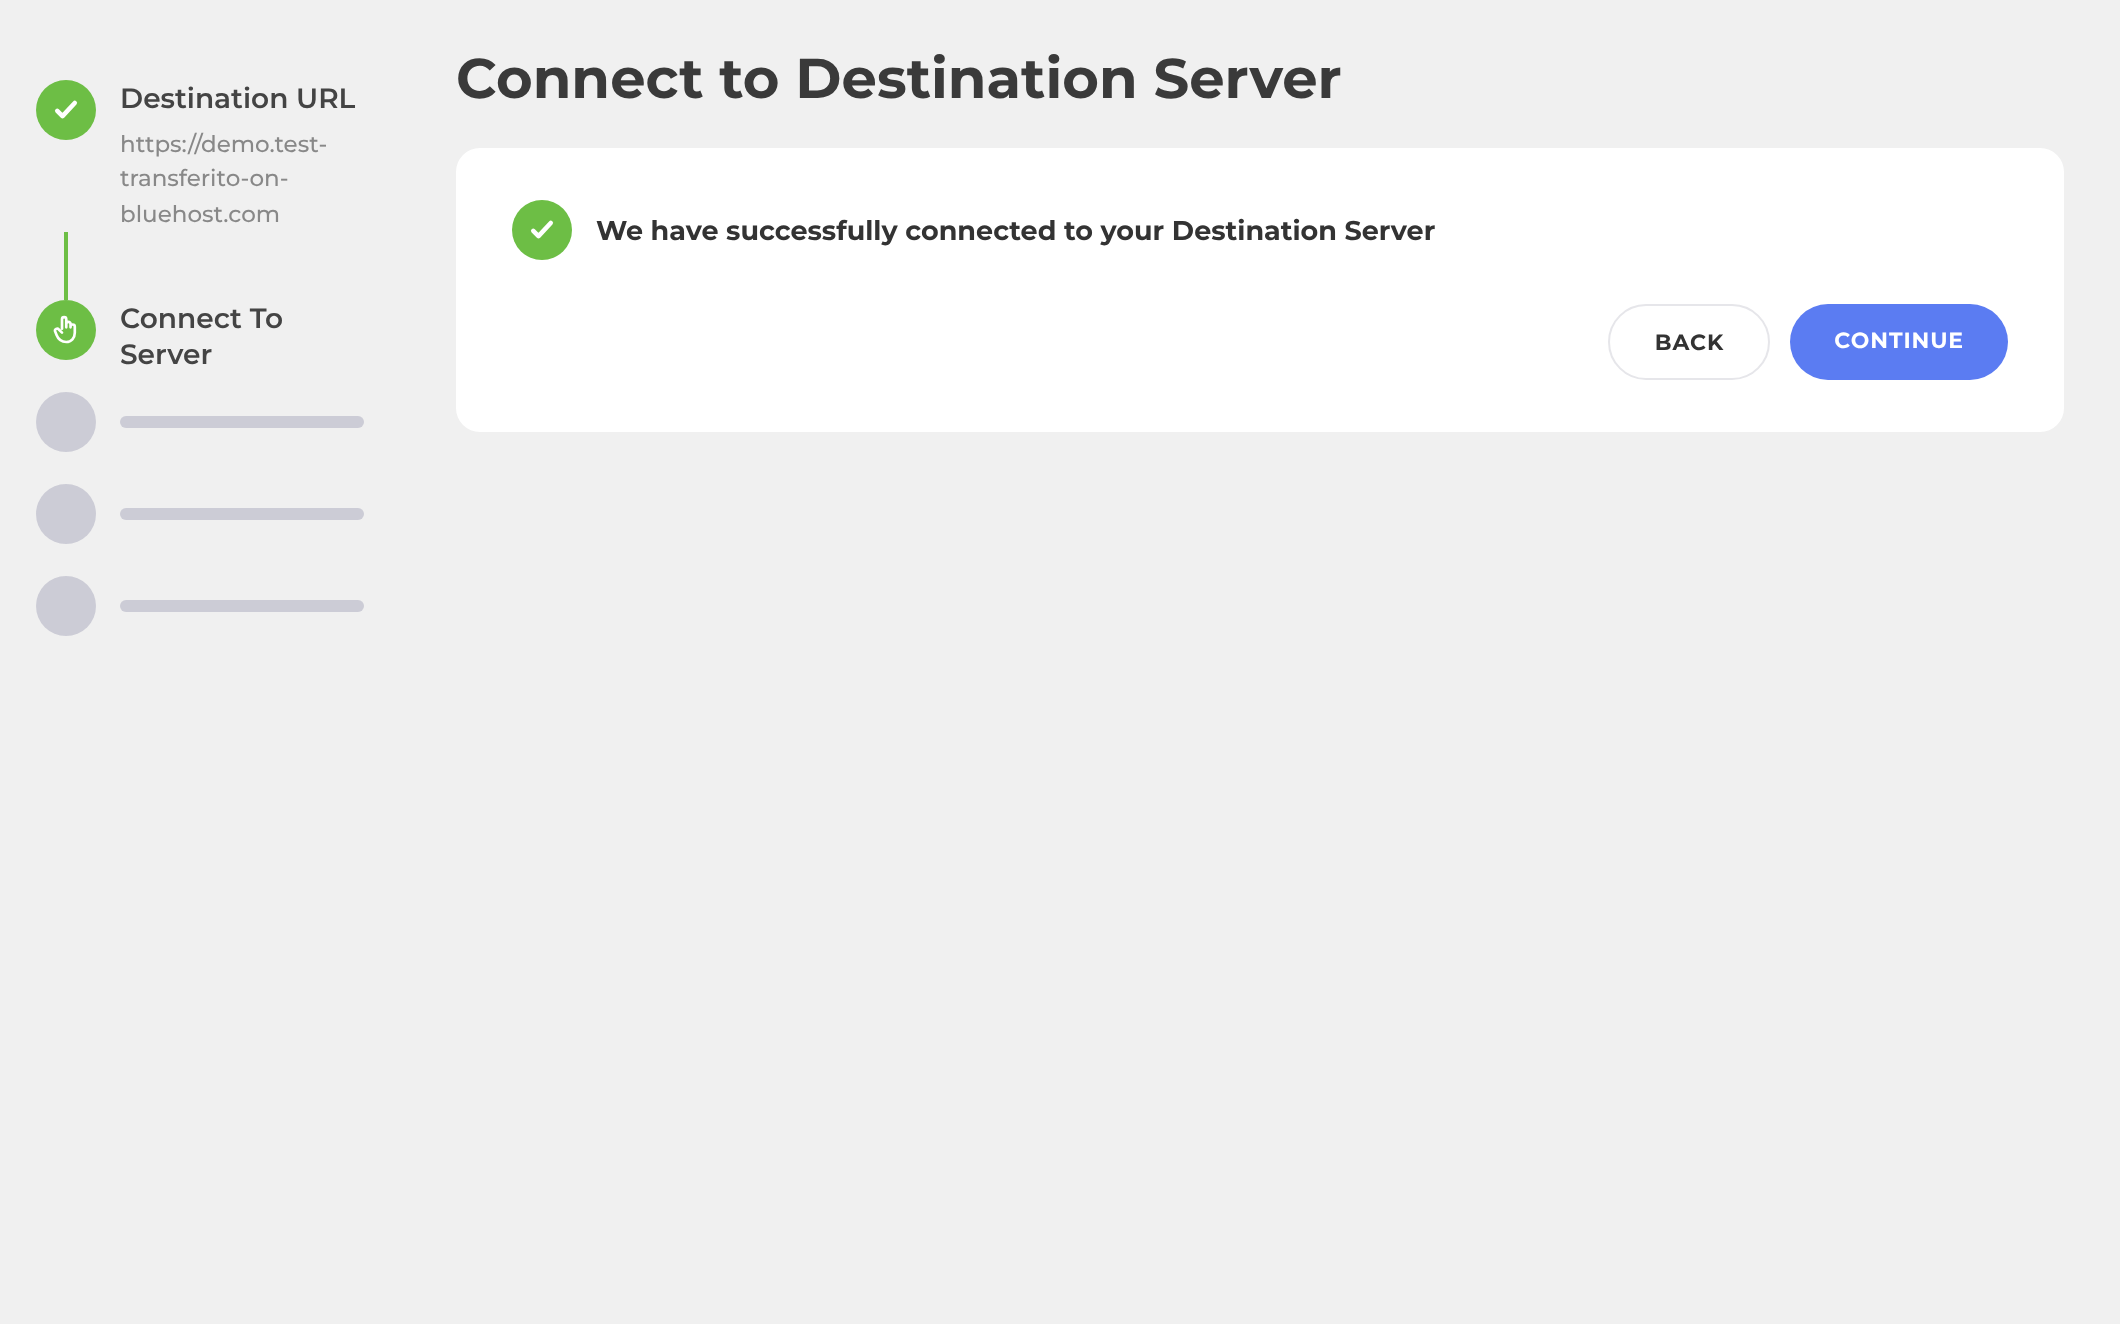
As soon as the file is found, the plugin shows Successfully connected and your migration can go ahead.
Don’t delete the verification file while your migration is in progress. Removing it will make the migration fail.
PART 3 Database
Enter your database details
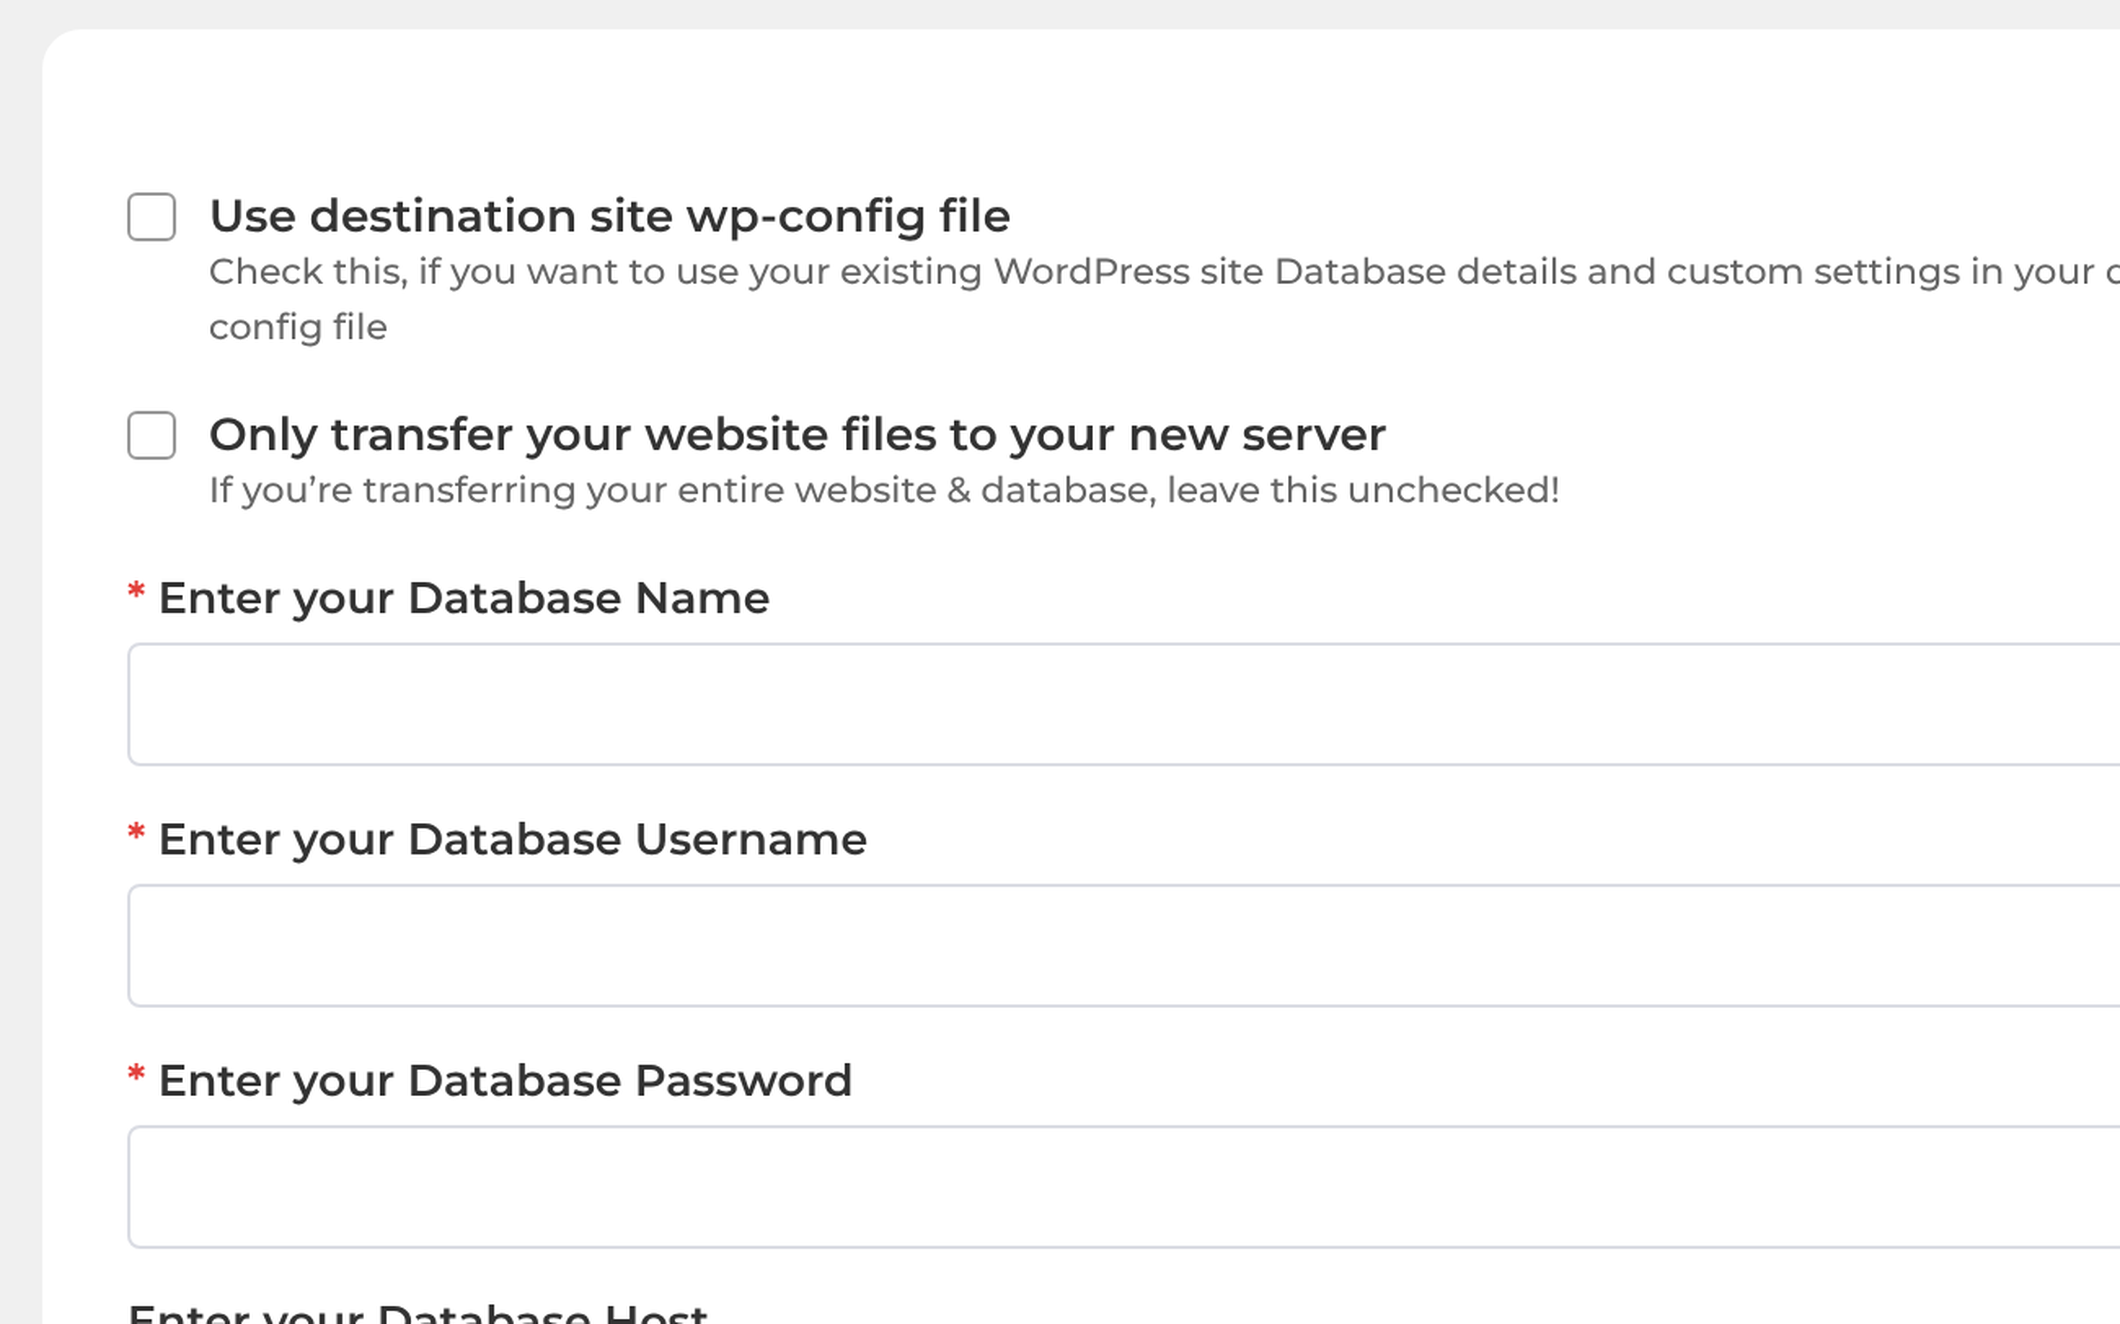
Add the details of the database on your destination server. All three fields are required, unless you tick Use destination site wp-config file (see Optional settings below).
DATABASE NAME
Required
DATABASE USER
Required
DATABASE PASSWORD
Required
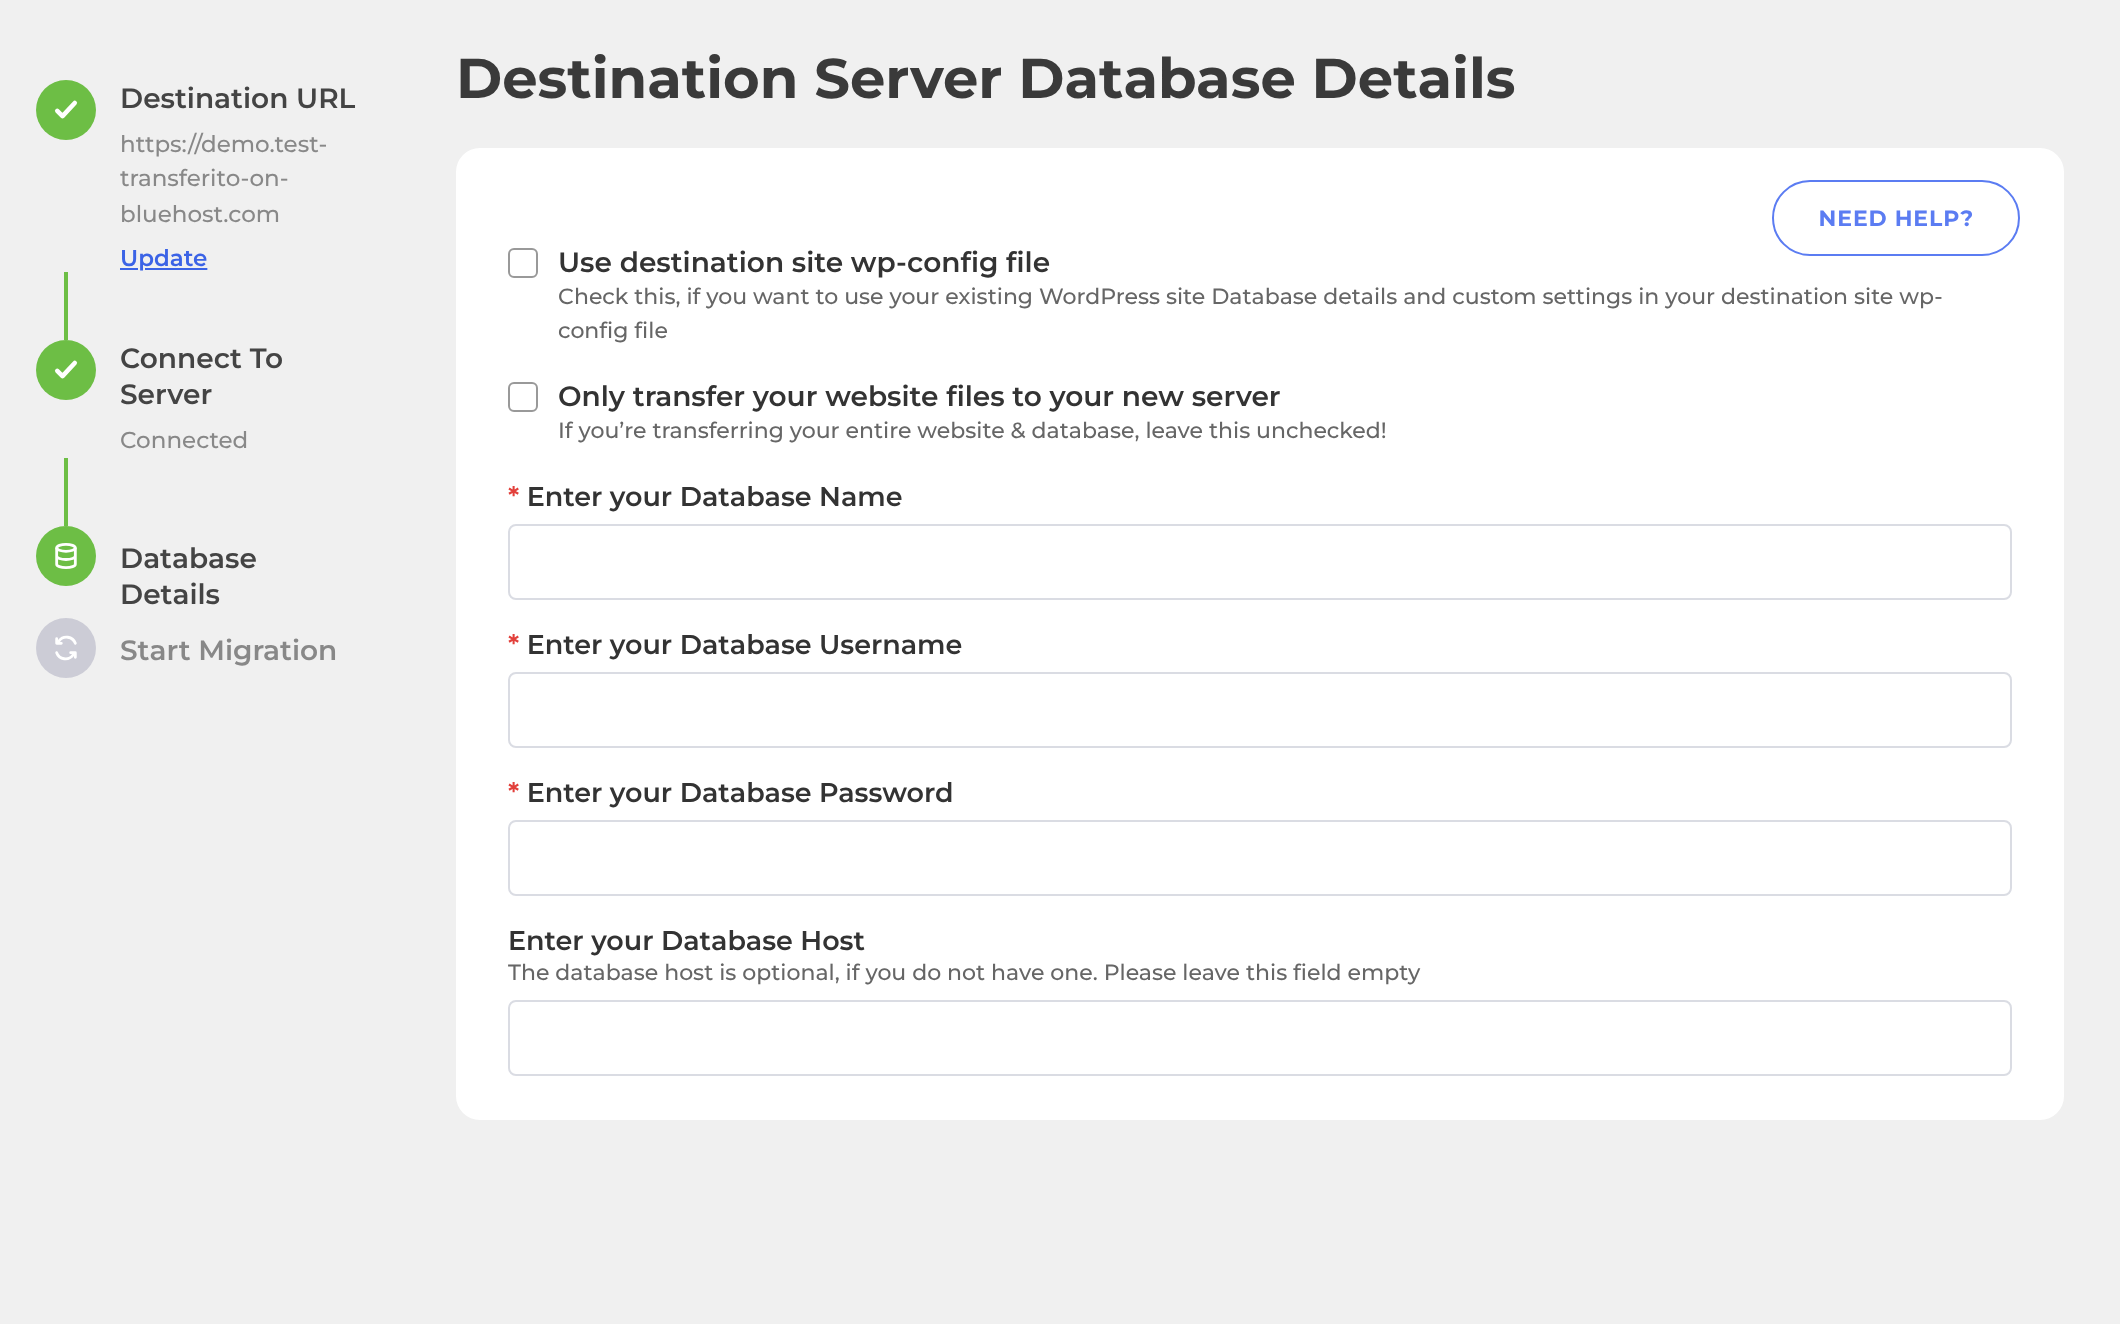
Where you find these details depends on your host. See the Hosting Guides for step by step help.
Optional settings
You can leave these as they are for most migrations.
OPTION
Use destination site wp-config file
Keeps the database details and custom settings already in your destination site’s wp-config file.
OPTION
Website files only
Skips the database and transfers only your WordPress files.
FIELD
Database host
Optional. Defaults to localhost.
Start the migration
Fill in your database details.
Click Start Migration.
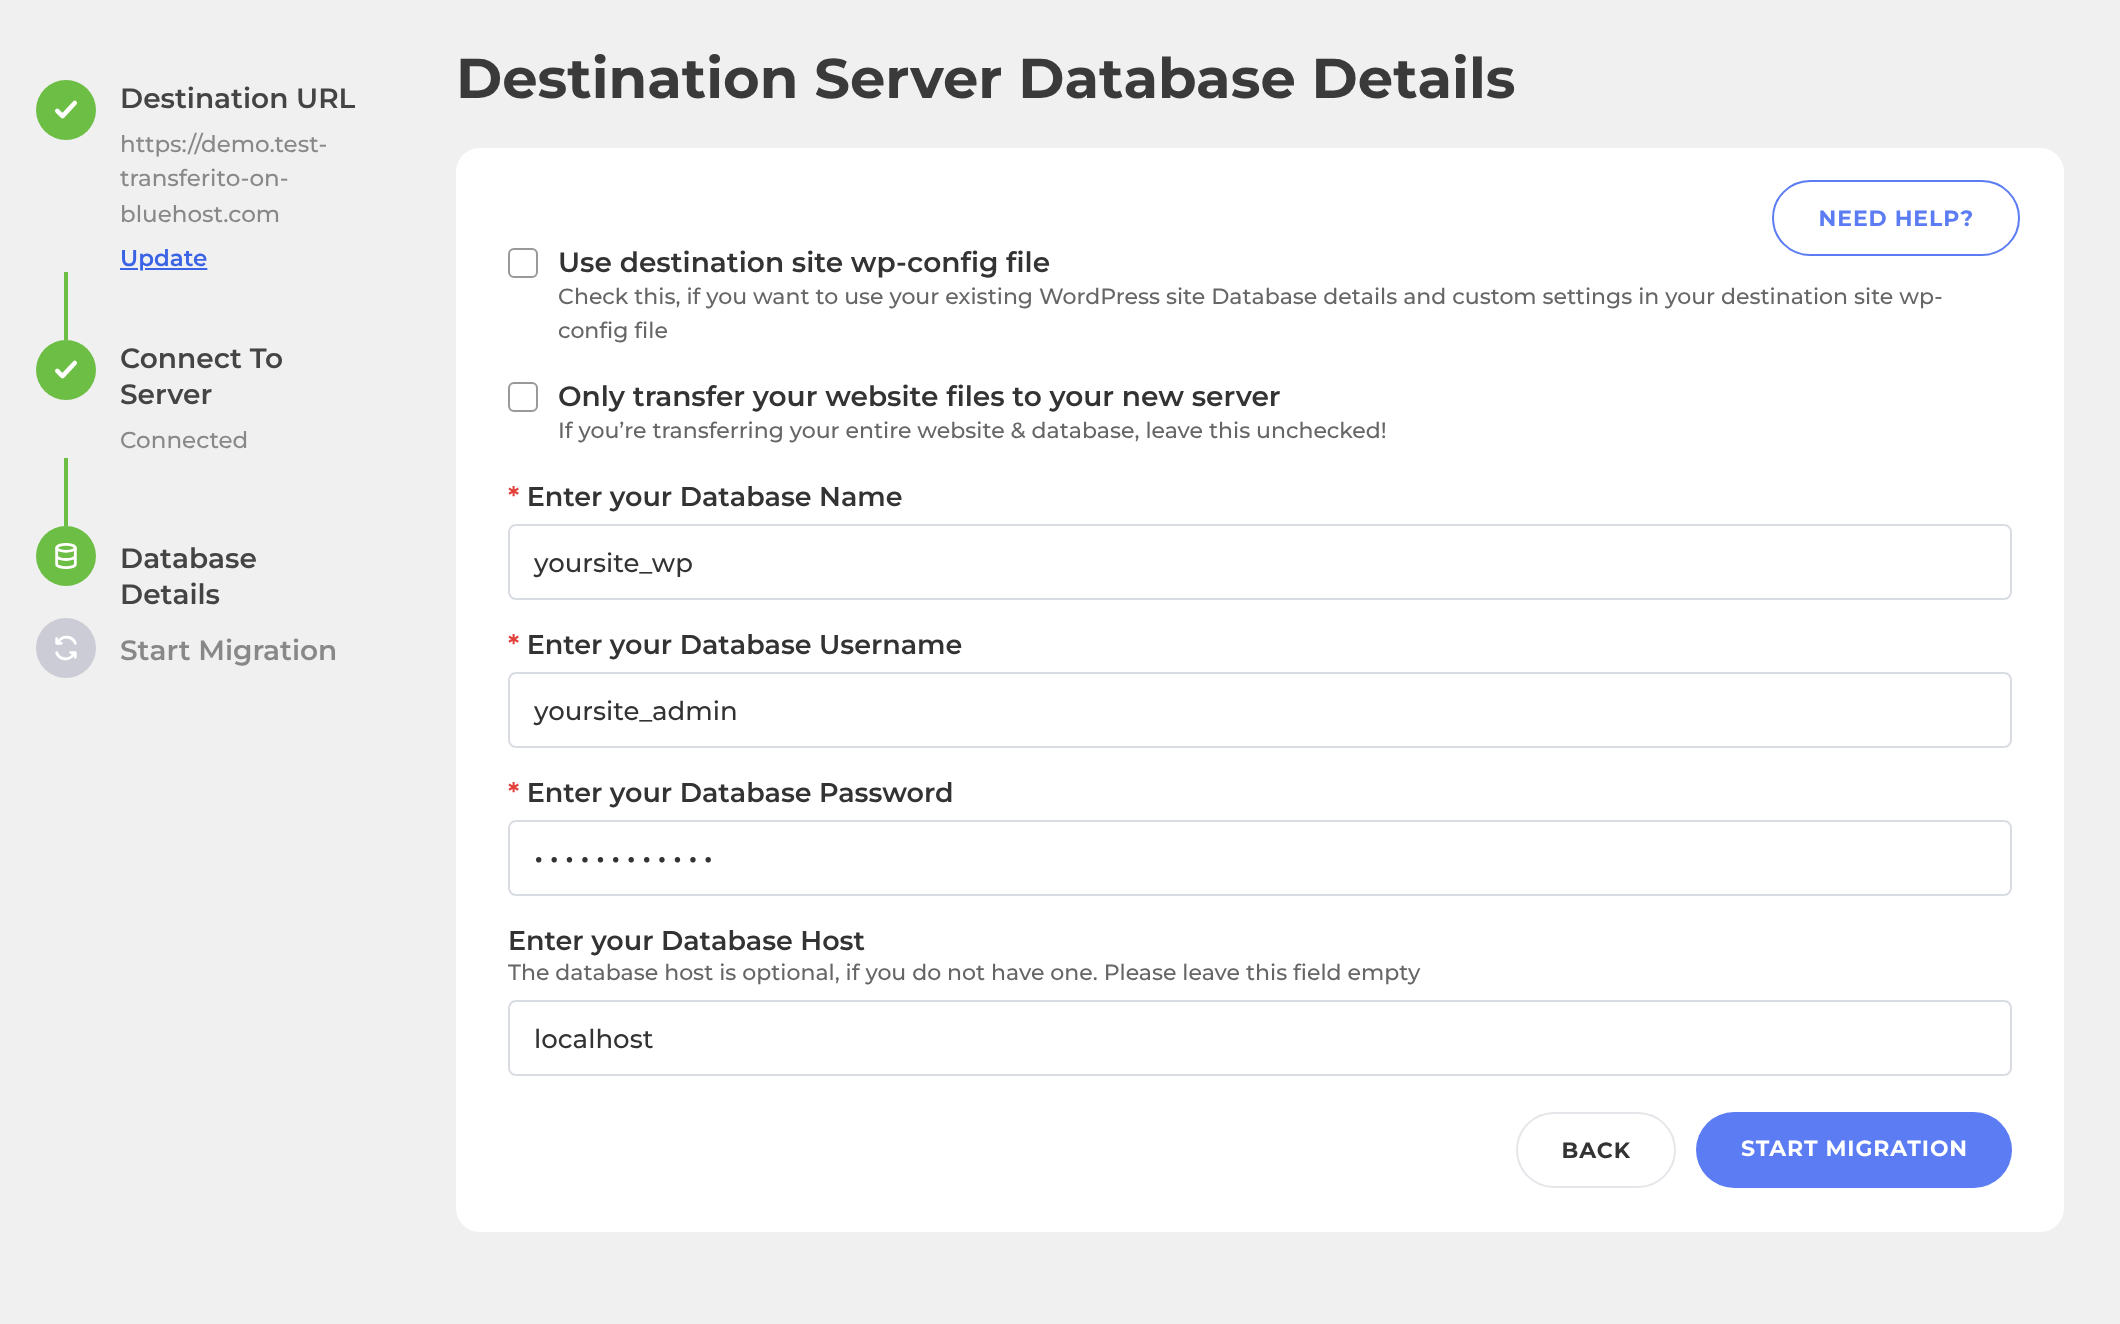
Your migration now begins. Keep the verification file on your server until it has finished.