A local migration has two parts: start it in the plugin on your live site, then finish it in Transferito Desktop.
PART 1 · PLUGIN
Create the backup on your live site
PART 2 · DESKTOP
Pull it into your local site
PART 1 In the WordPress plugin
Start the migration
Log into the WordPress dashboard of your live site and click Start Migration.
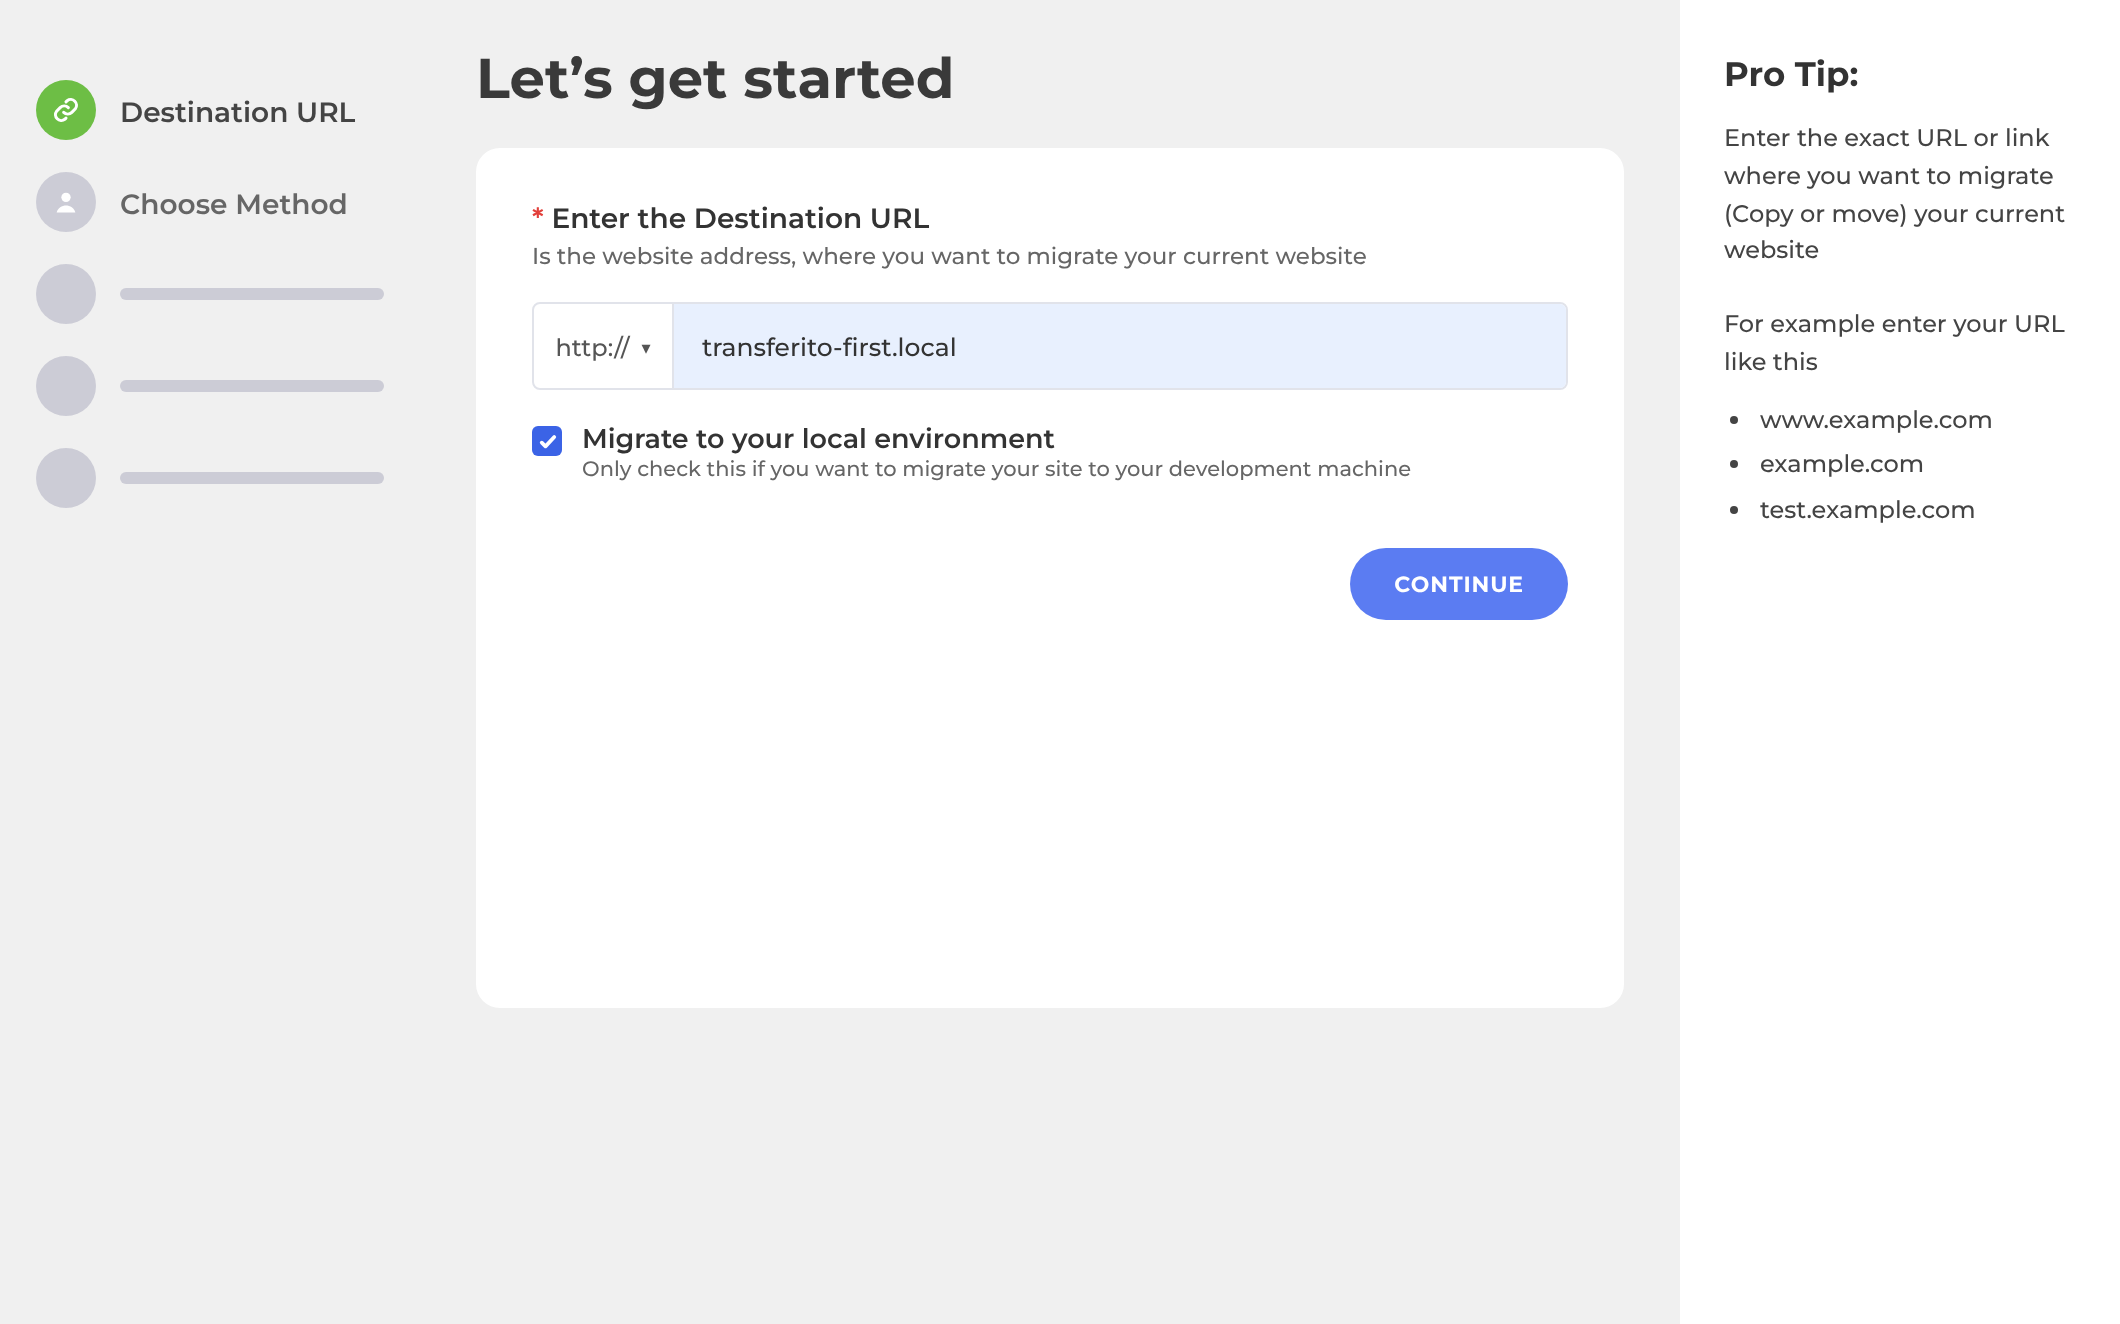
Enter the URL of the destination site.
Tick the Local migrations checkbox, then click Continue.
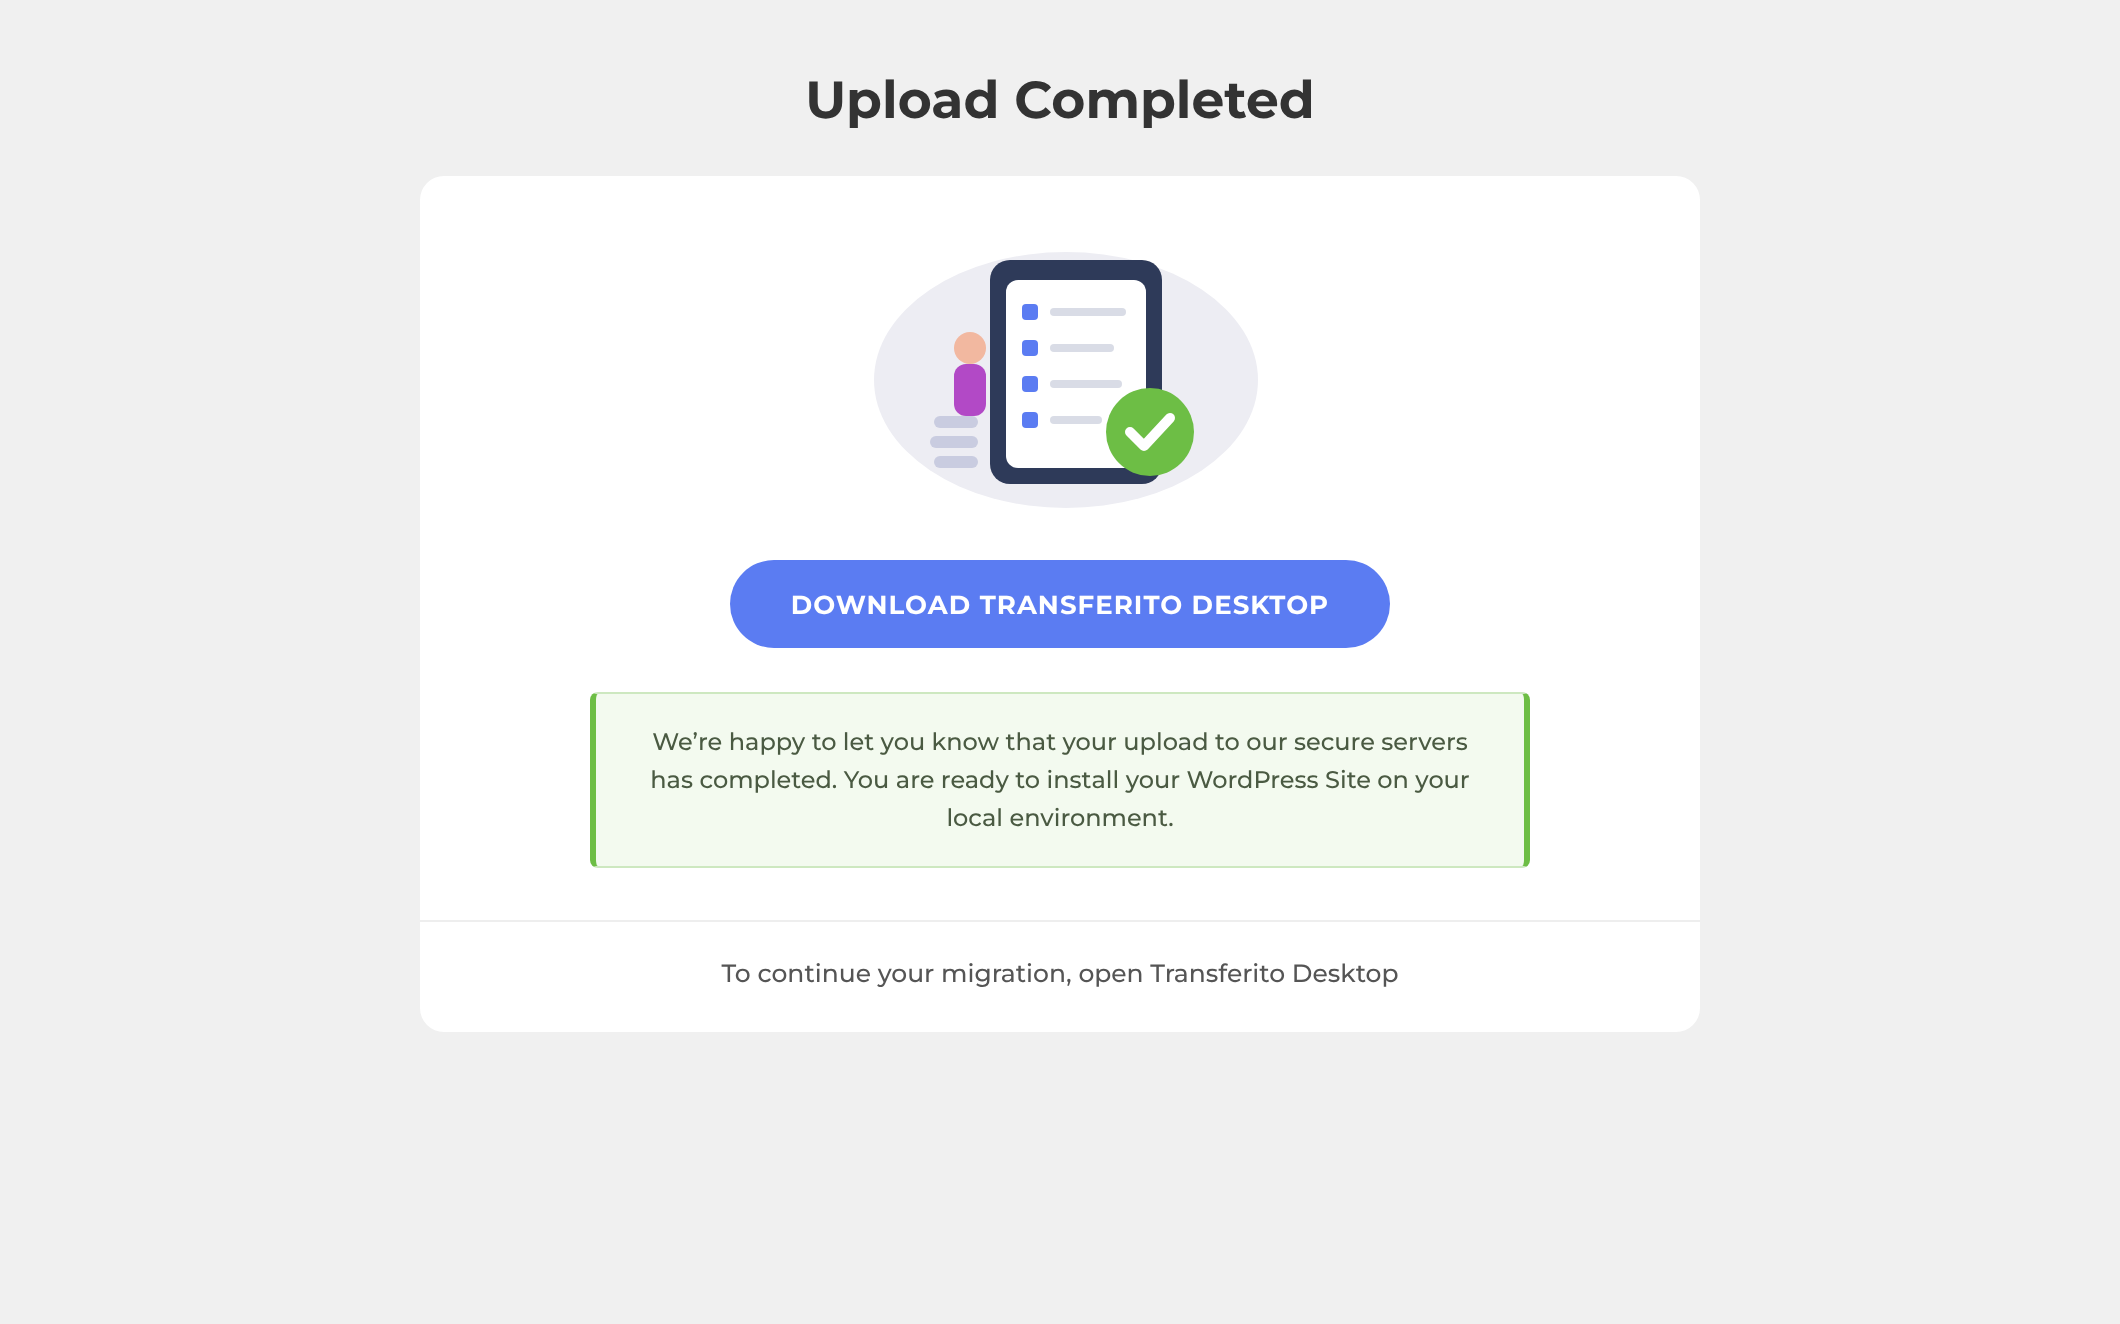
Your backup now starts. When the site is ready to migrate, a notification appears in the plugin.
PART 2 In Transferito Desktop
Find your backup
Open Transferito Desktop.
Click the Migrations tab. Migrations created in the plugin appear here.
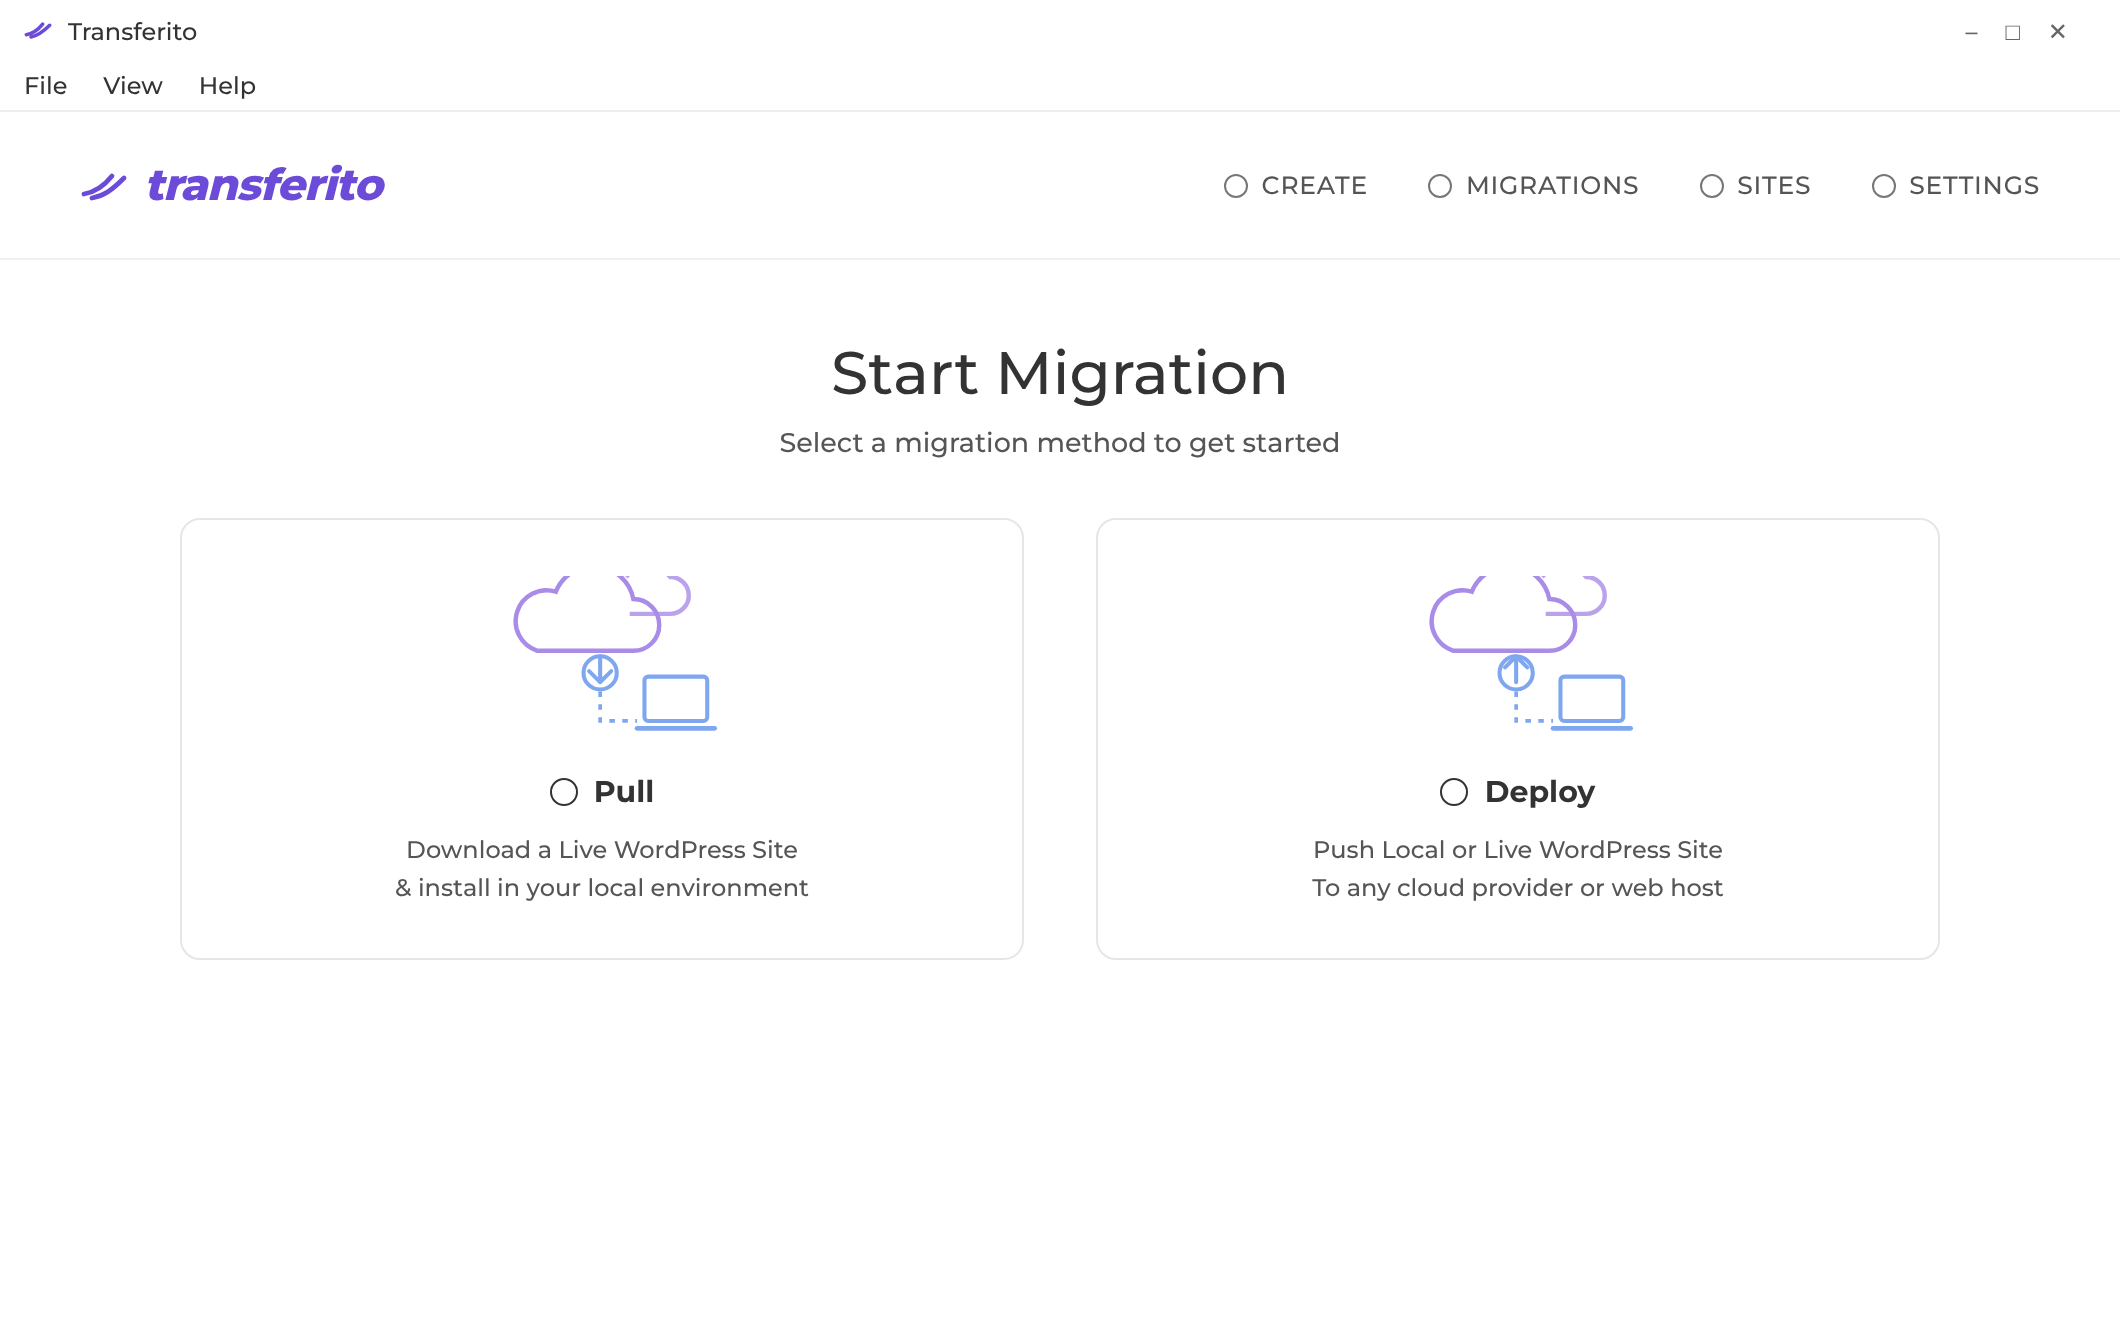
Your backup shows on the migrations screen with:
SOURCE
Live site URL
CREATED
Time of the backup
DESTINATION
Destination site URL
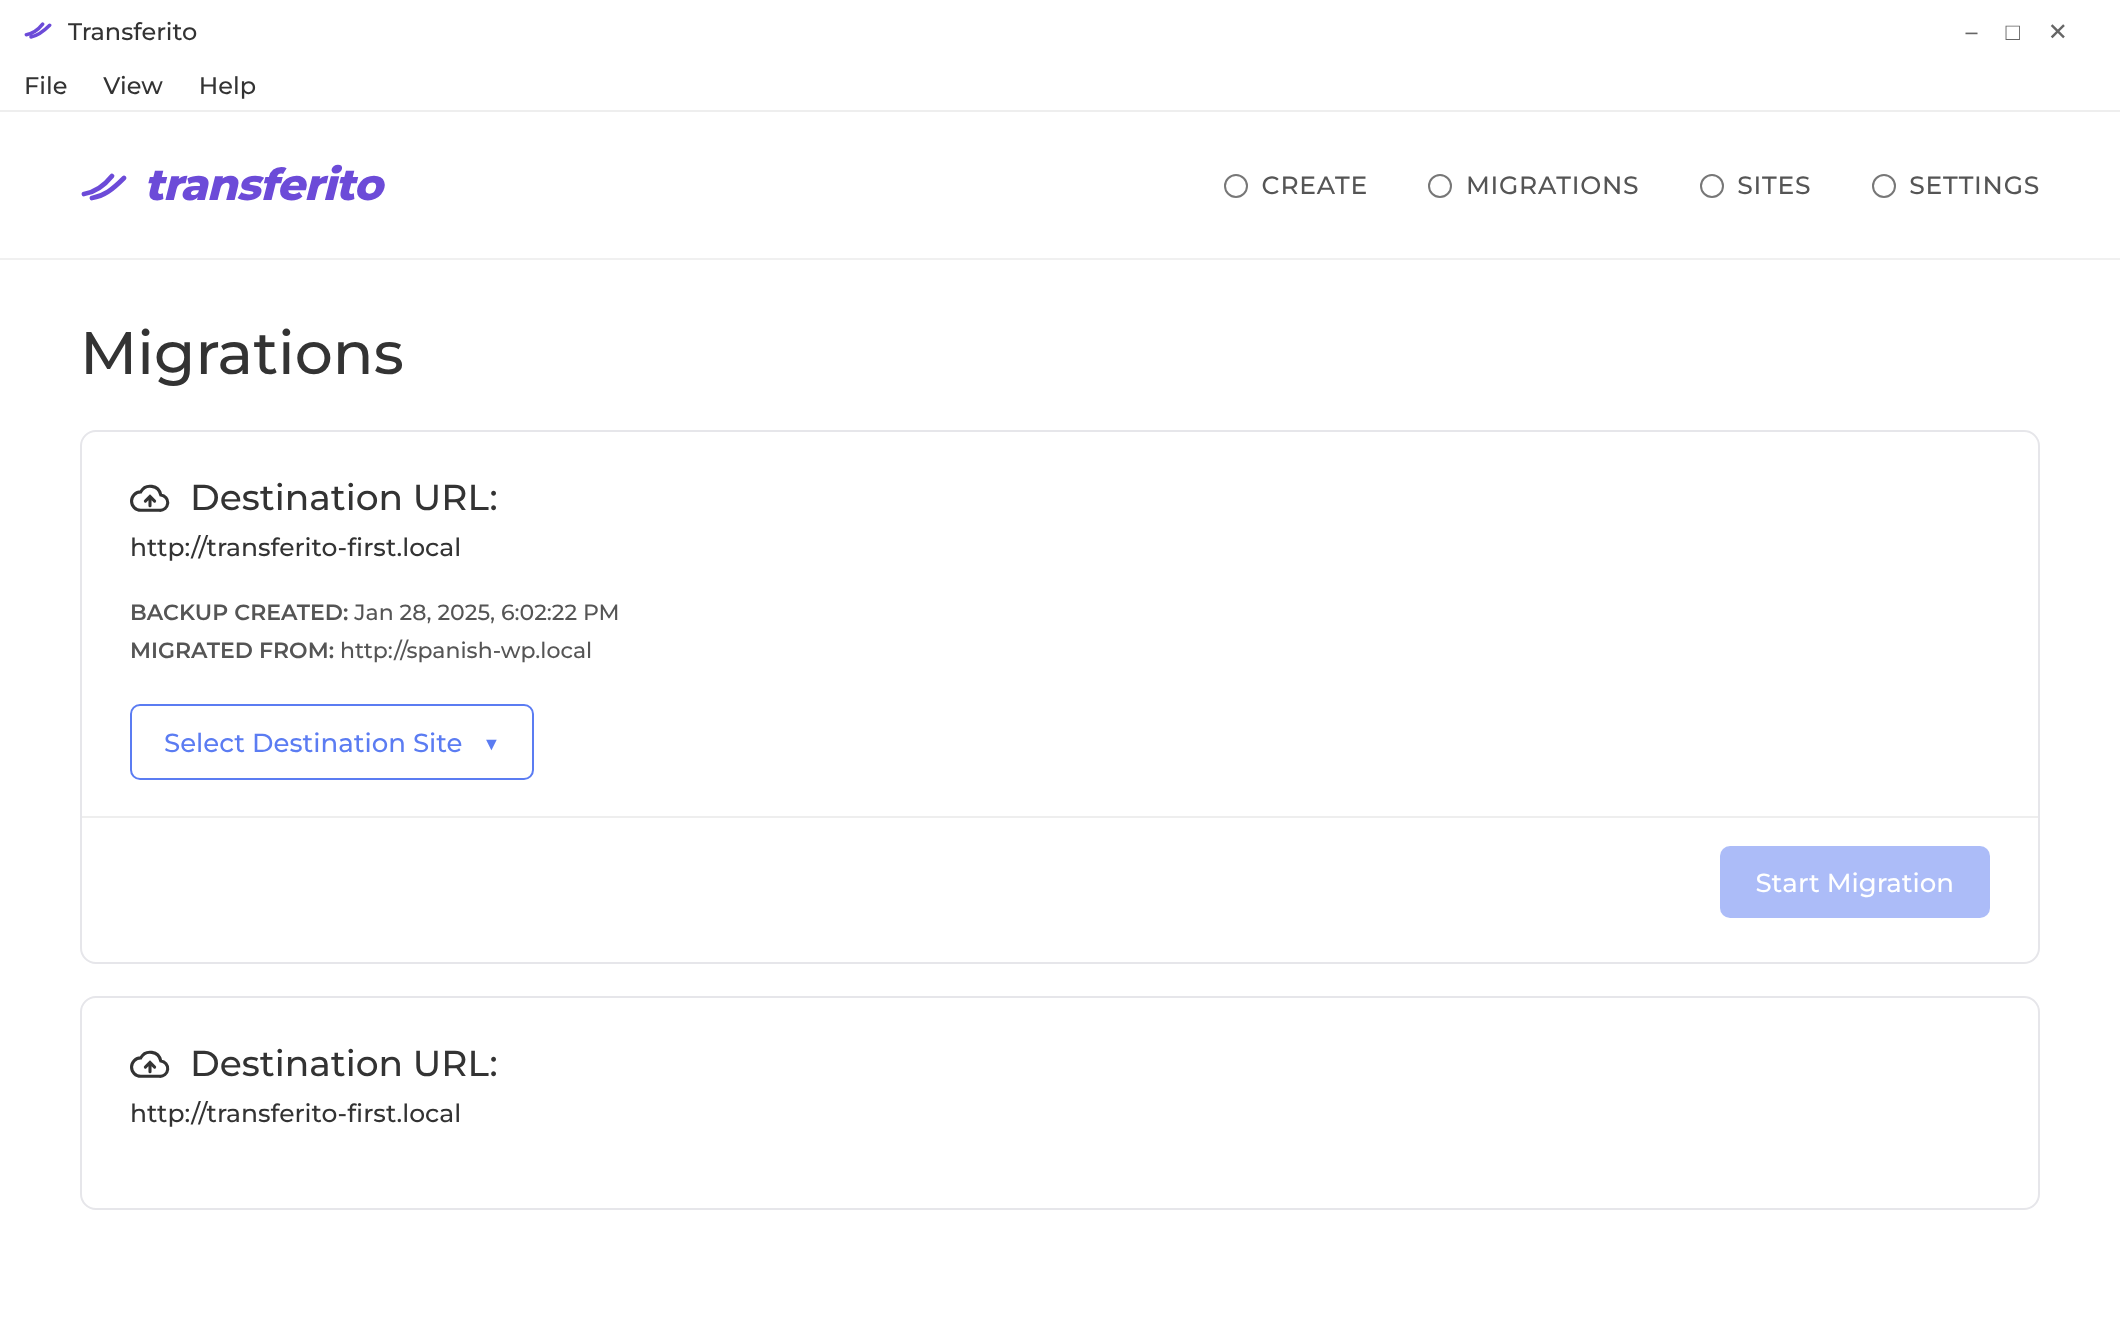
Select your destination site
Choose your destination site from the list. If the list is empty, add one first.
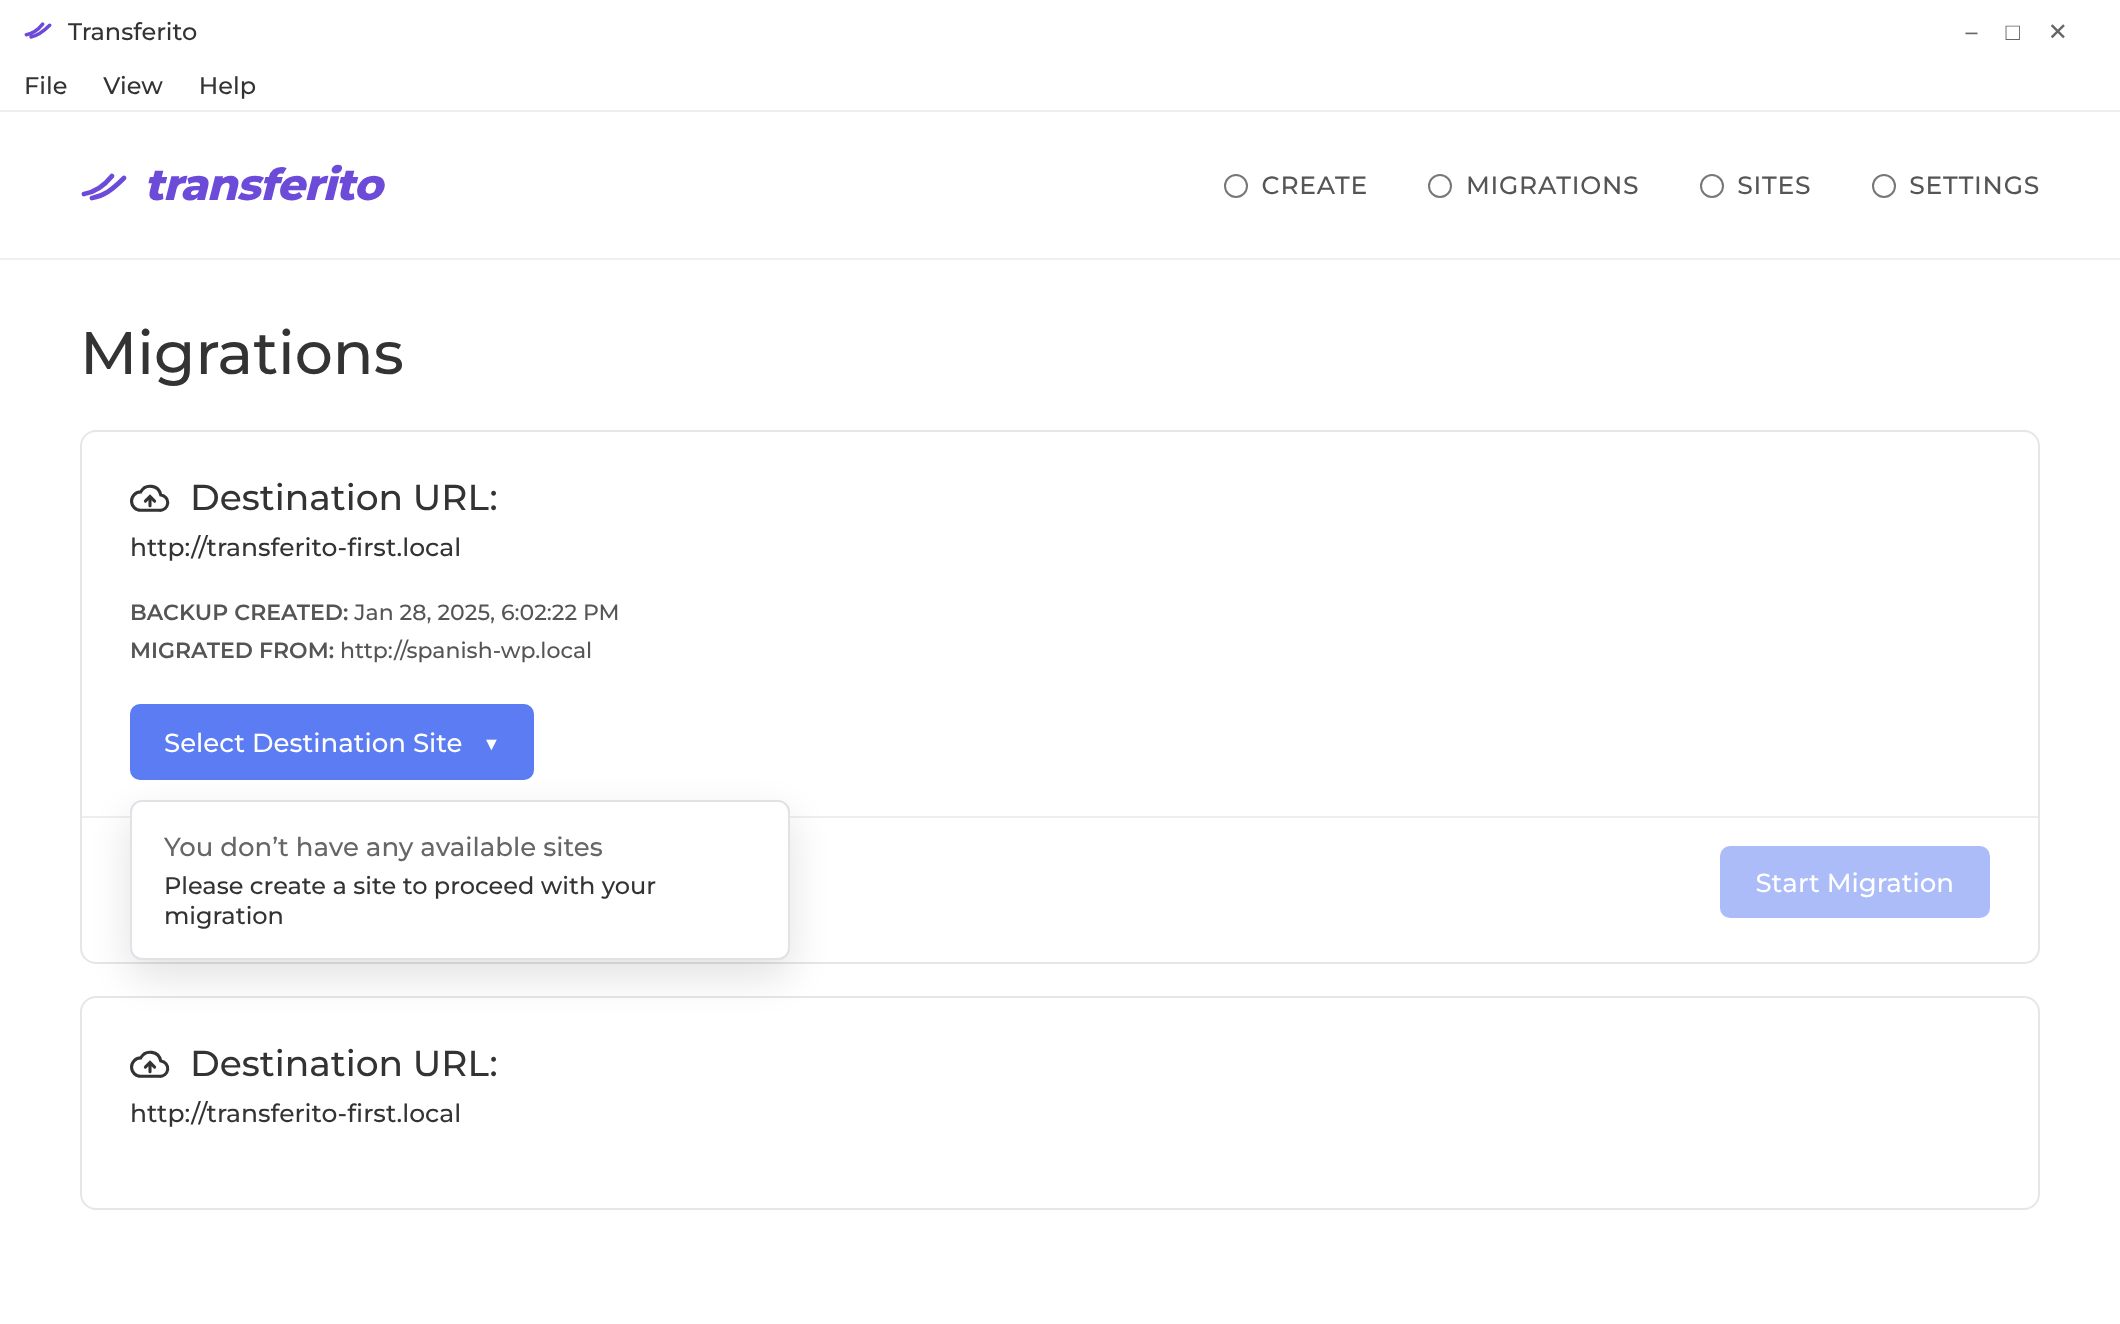
IF YOU NEED TO ADD A SITE
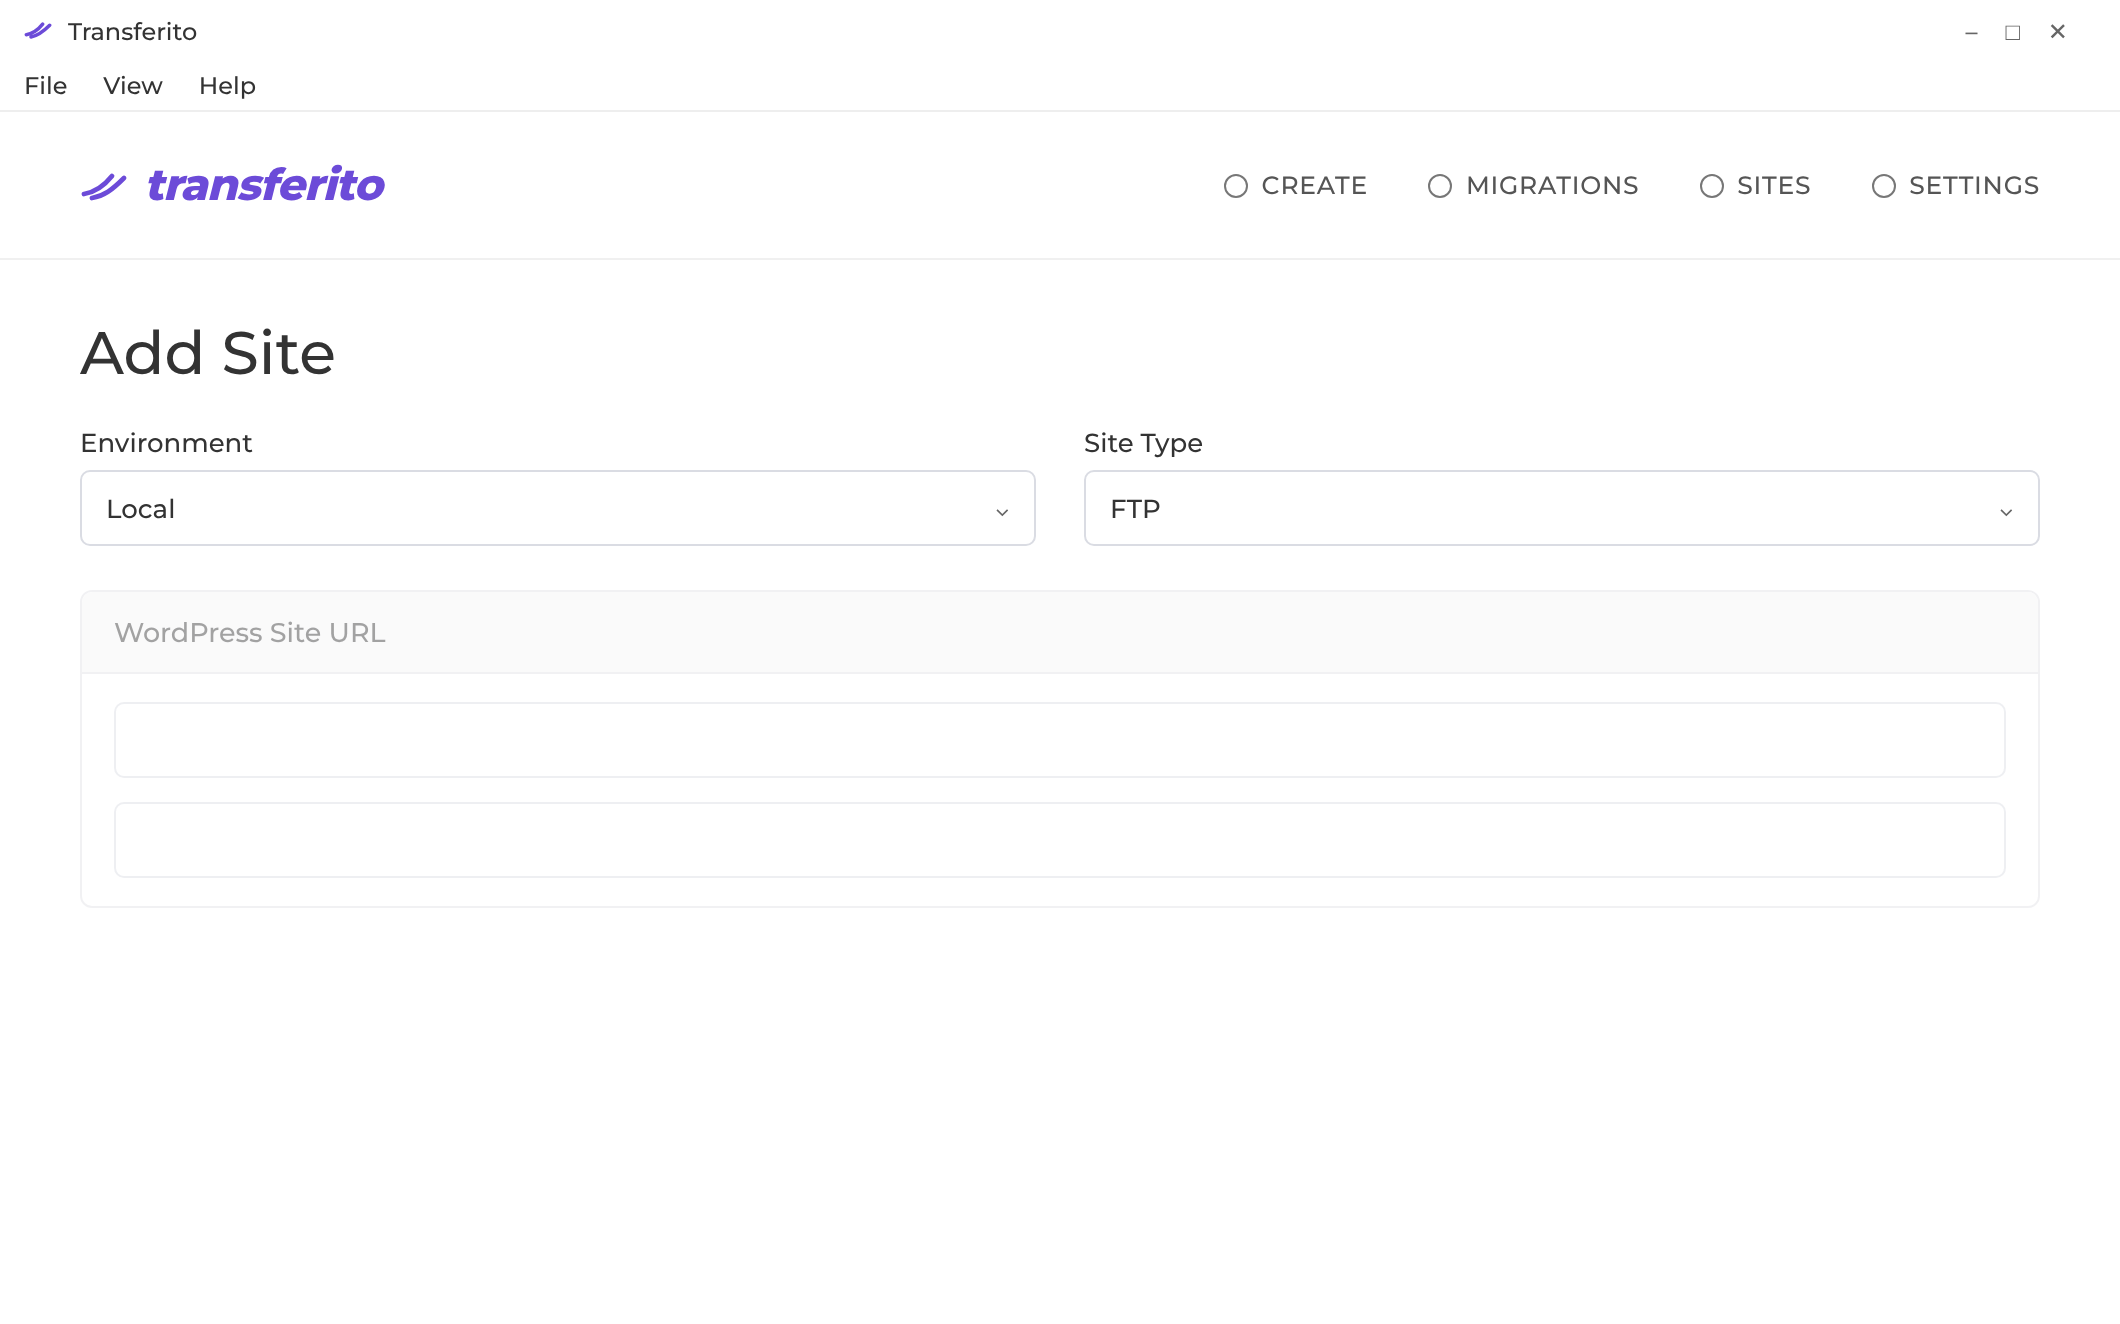
Click Sites in the navigation bar, then click Add Site.
Choose your environment and site type:
ENVIRONMENT
Local
SITE TYPE
FTP
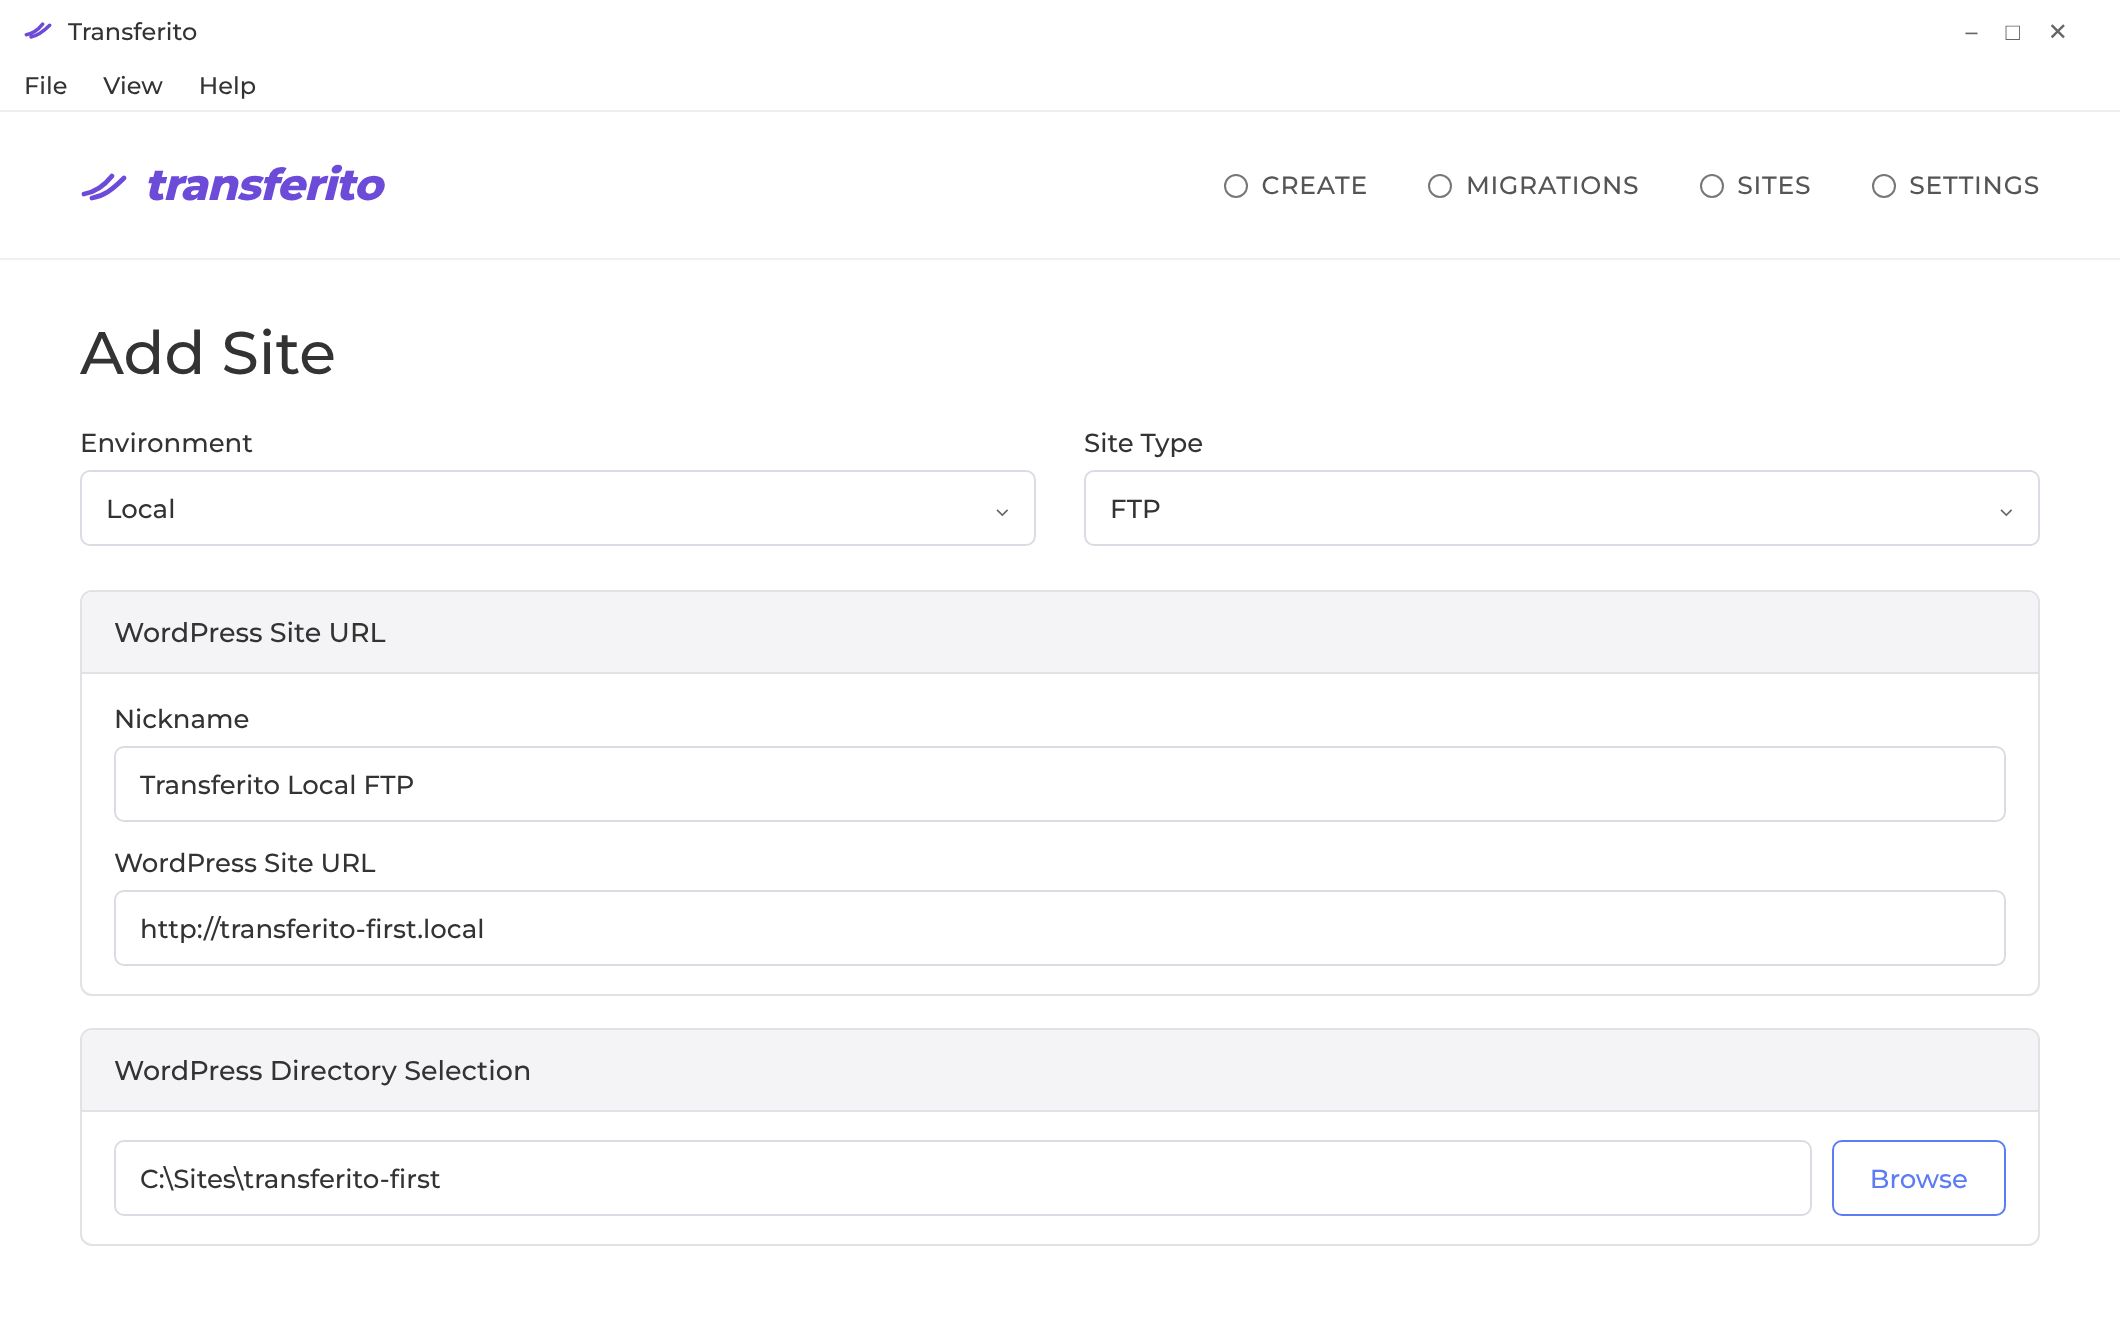
Enter your site details:
- A name to identify the site
- The directory (folder) of the local site
- The site URL
- Your database details
Use the new site
Go back to Migrations and select the destination site you just created.
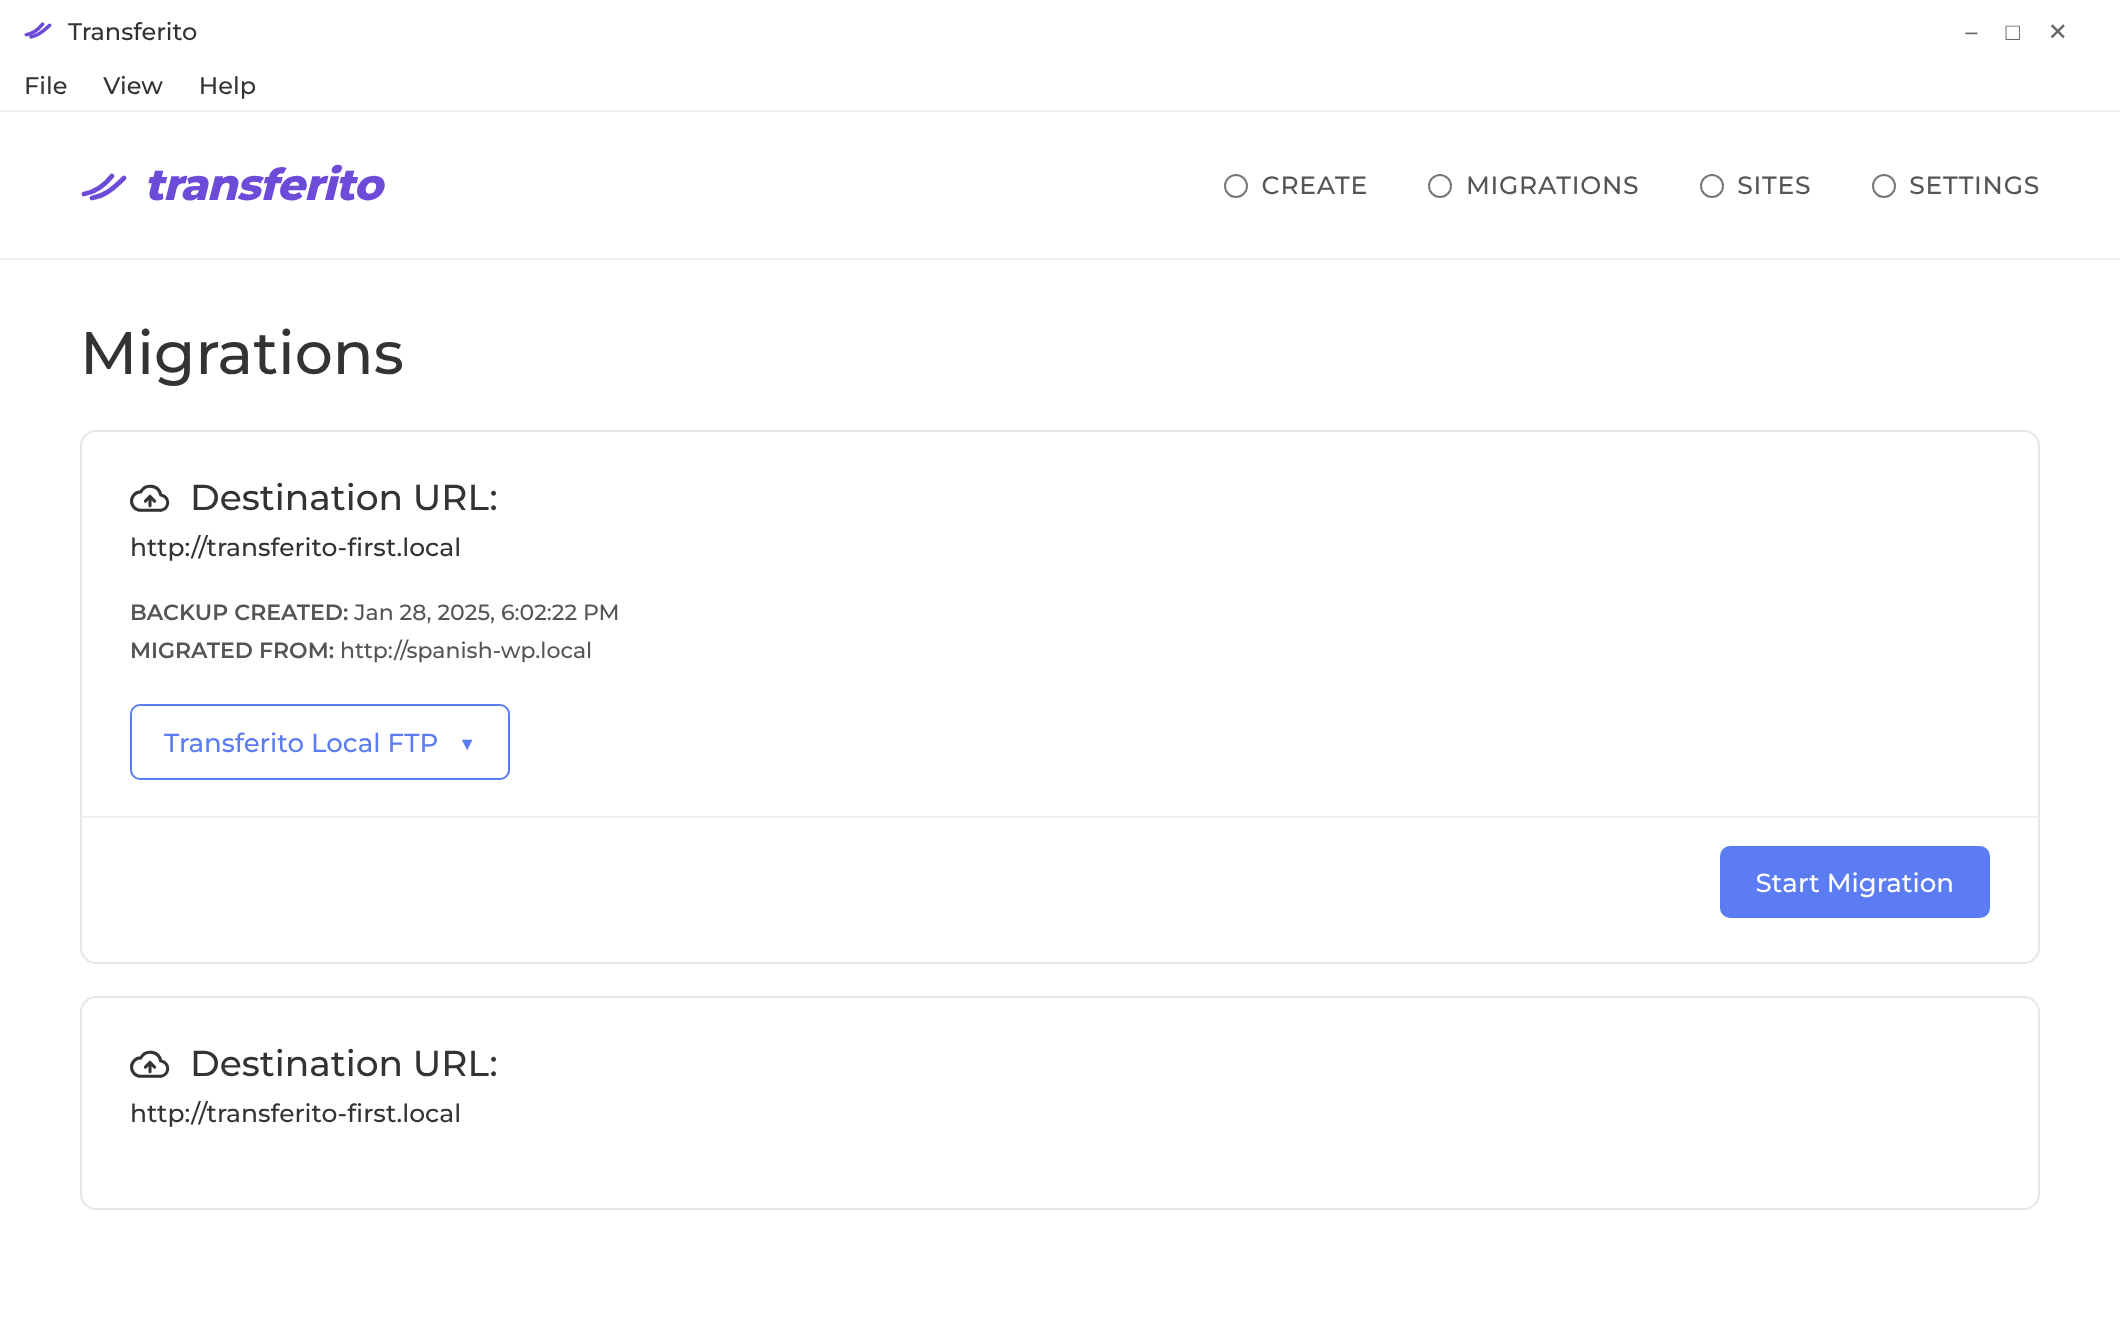
Click Start Migration. Your backup is now restored into your local site.
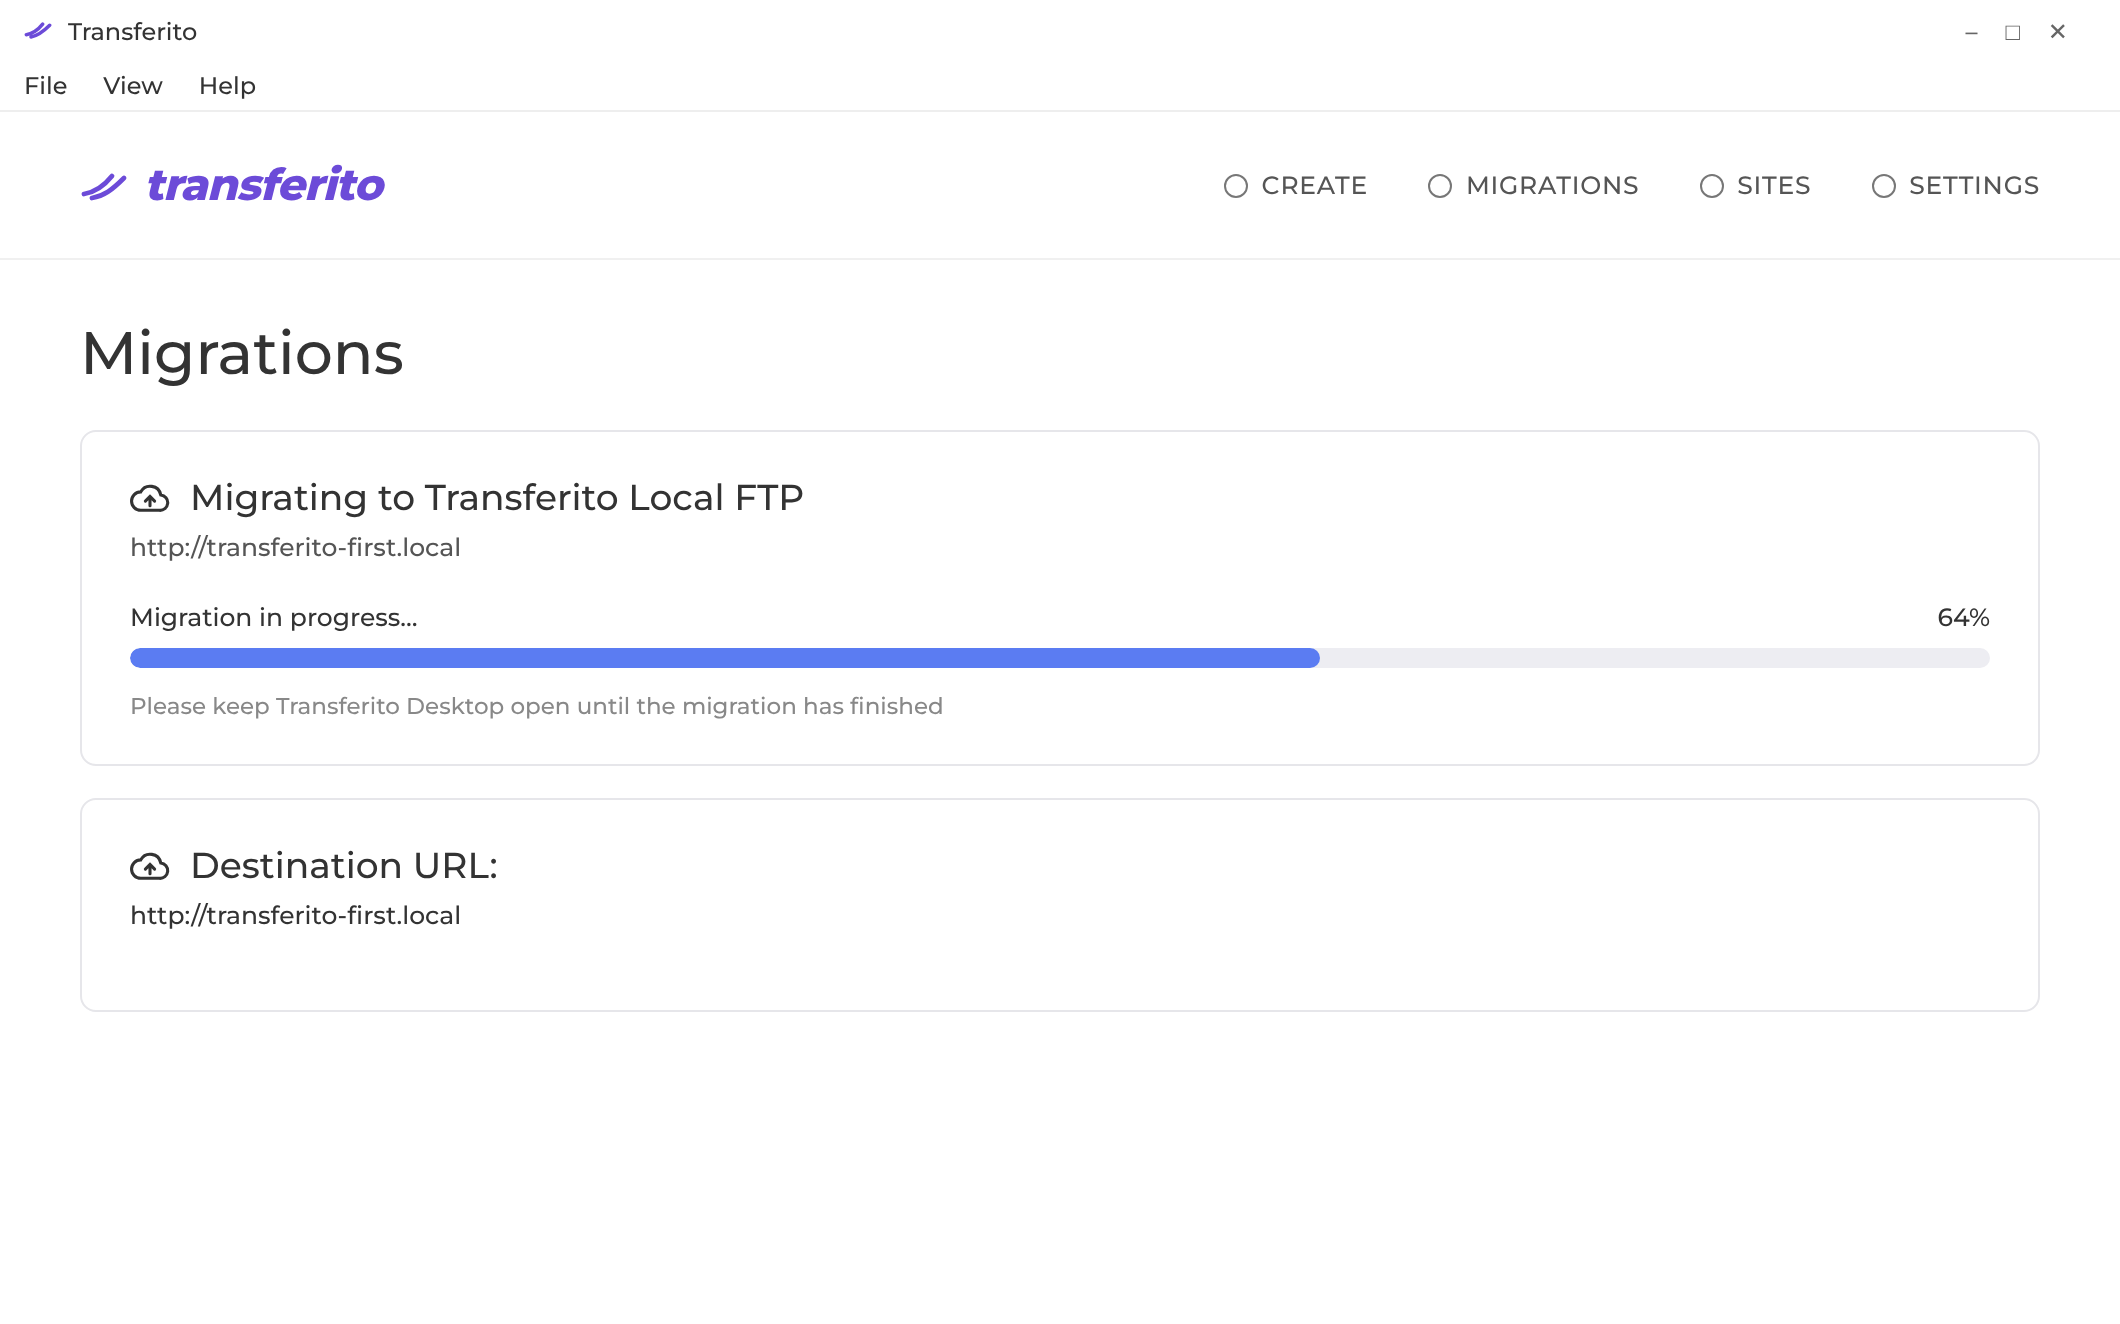
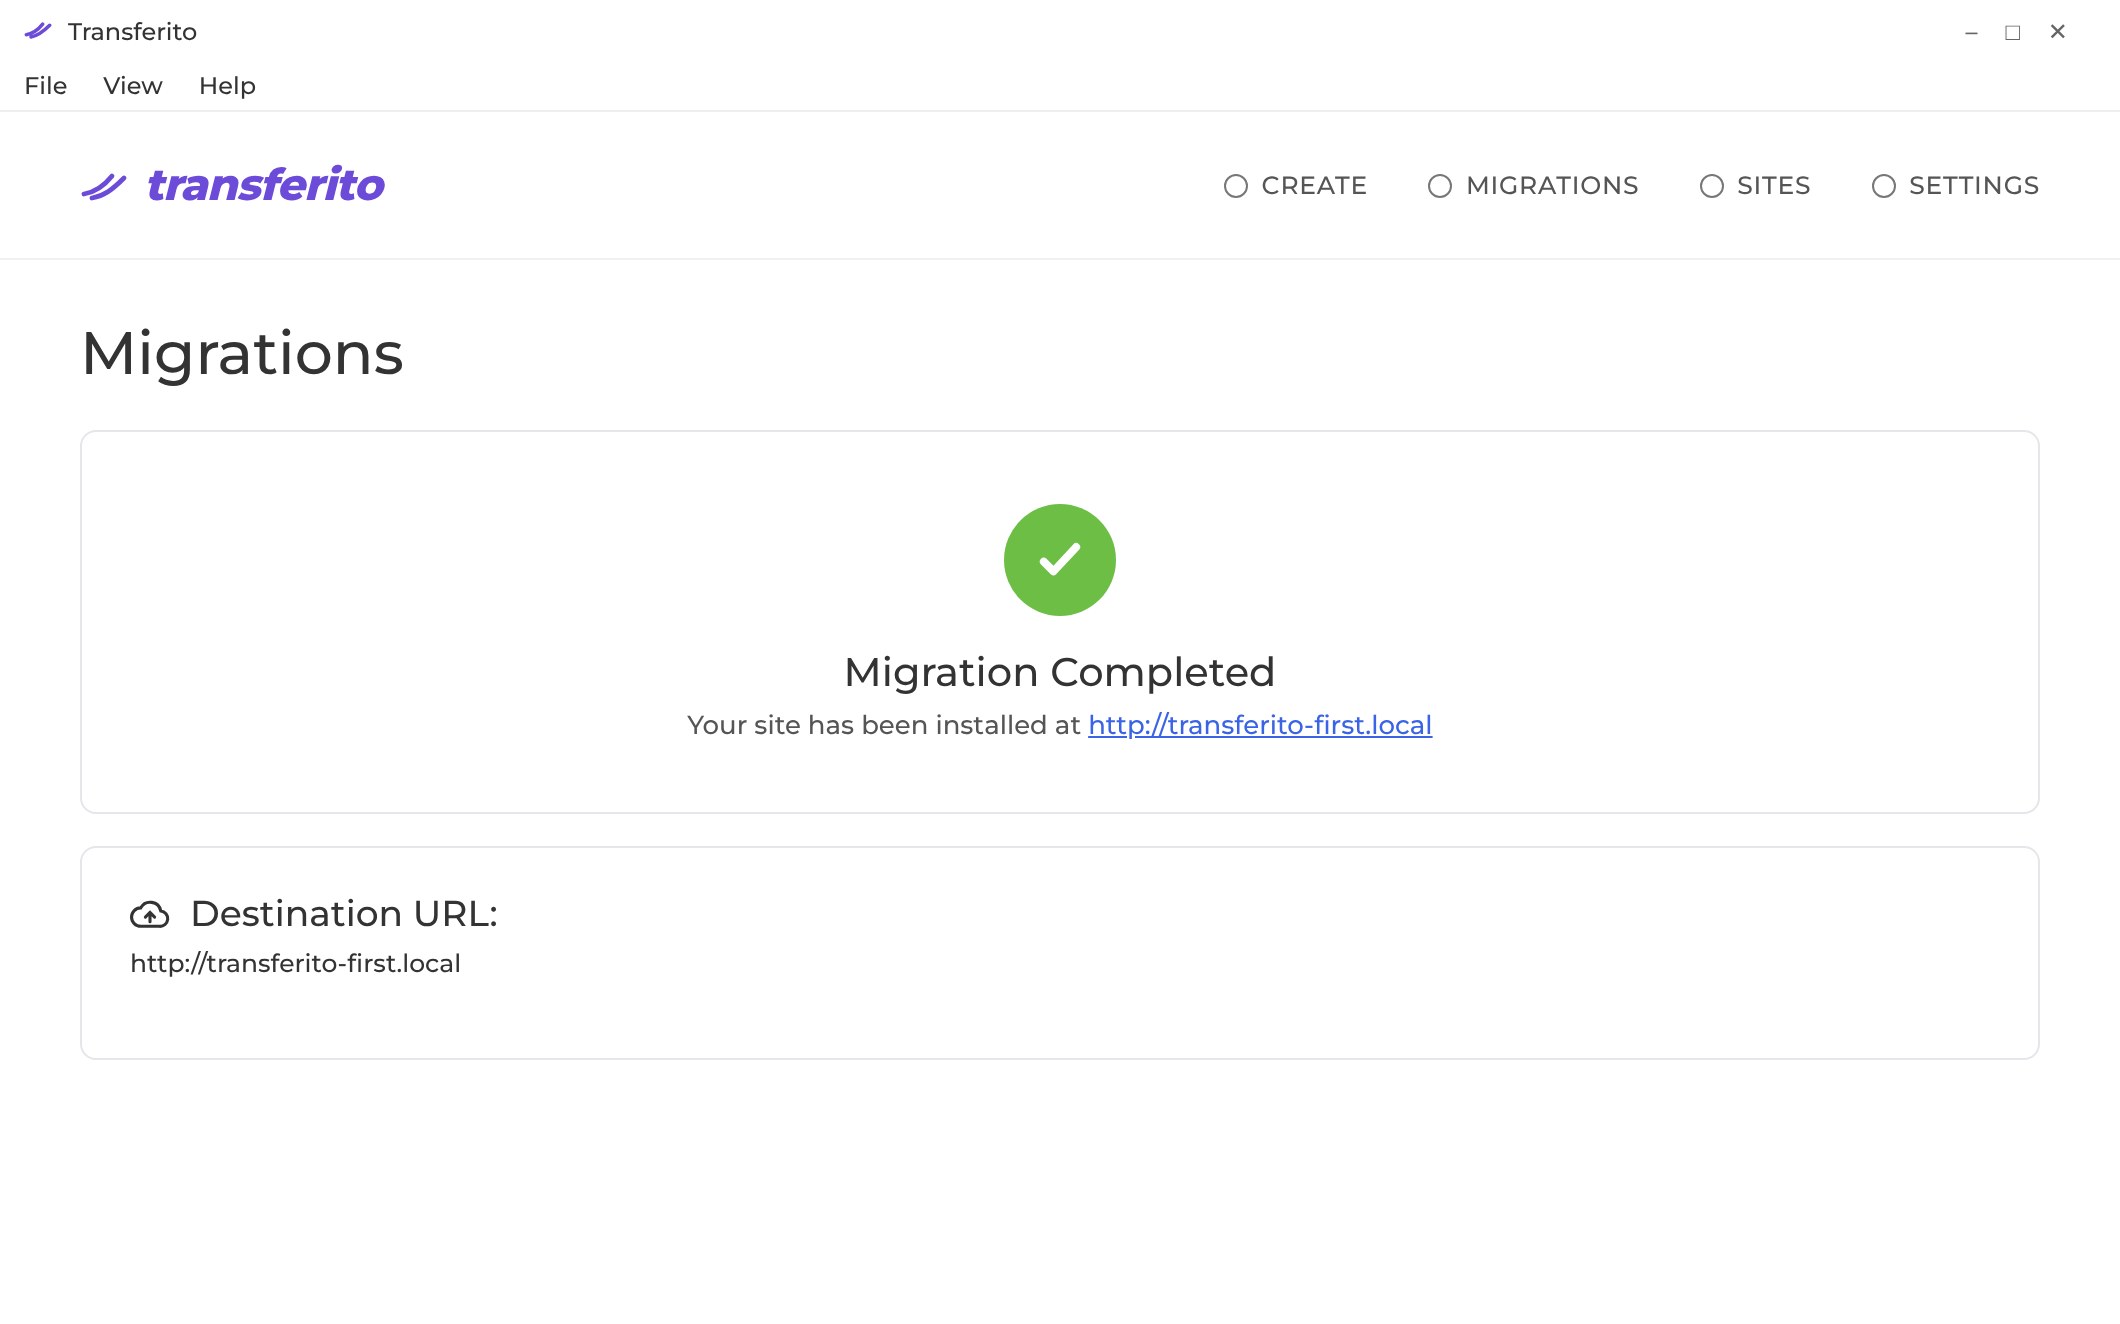
When the migration finishes, the completed screen appears and your local site is ready to use.