When you move a site to a new host but keep the same domain, you update your domain’s DNS so it points to the new server. Getting the timing right can be tricky: migrate too early and anything that changes on your live site afterwards is left behind.
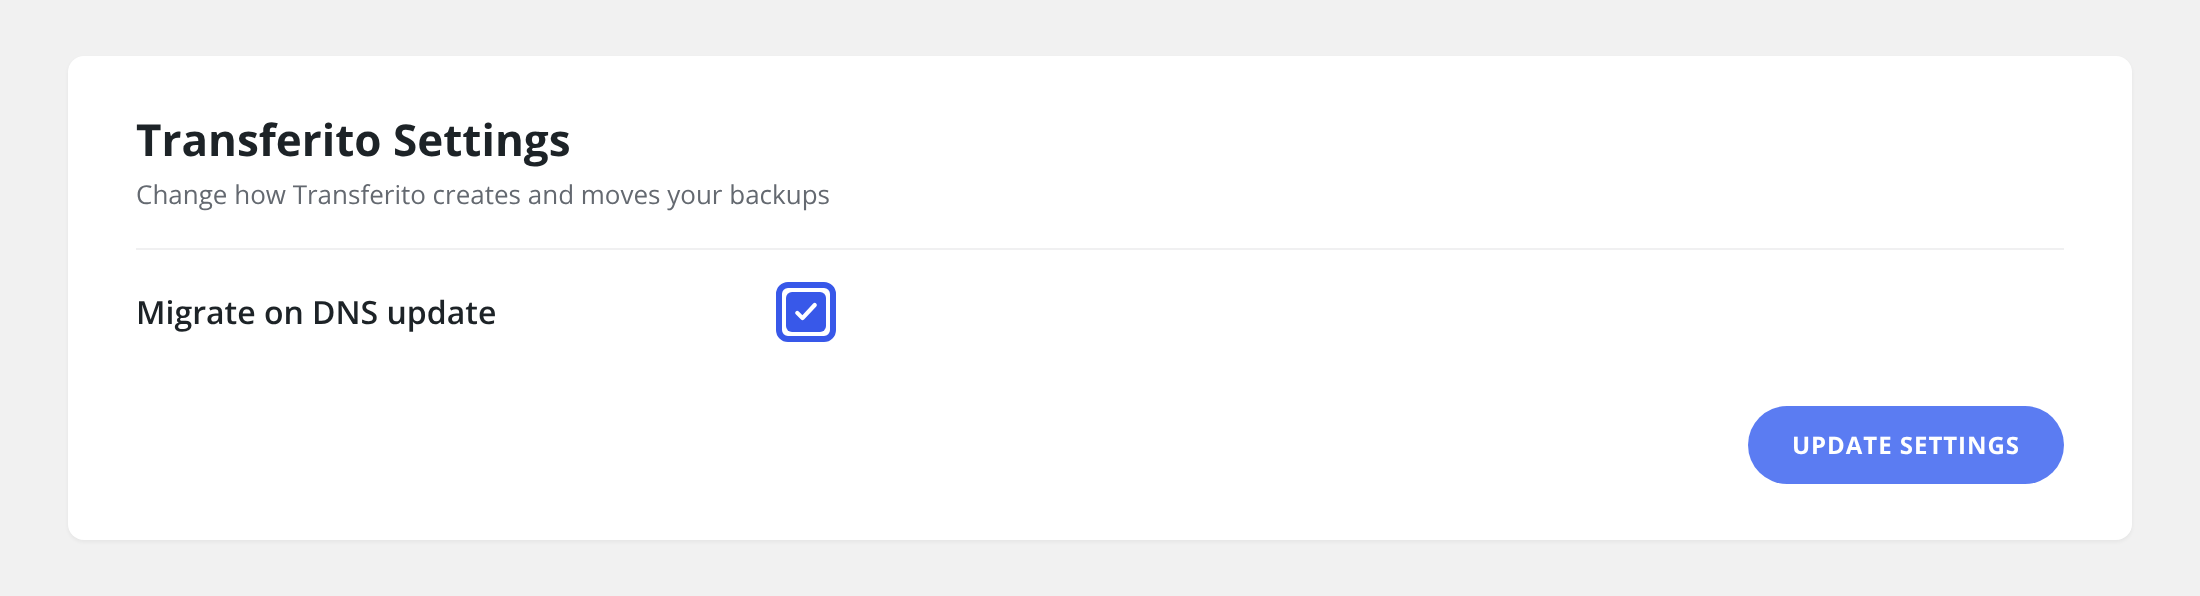
With Migrate on DNS Update turned on, you don’t have to time it yourself. Transferito waits for the DNS for your site to be updated, then the migration kicks in automatically.
How it works
You turn on Migrate on DNS Update and set up your migration as normal.
You update your domain’s DNS records to point to your new host.
Once the DNS update is detected, Transferito starts the migration, moving your site at the moment your domain switches over.
When to use it
GOOD FIT
Same-domain moves
You’re moving to a new host and keeping your domain name.
GOOD FIT
Busy sites
Content, orders or comments change often, so you want the newest copy moved at switch-over.
DNS can take time. DNS changes can take anywhere from a few minutes to 48 hours to spread across the internet, so the migration may not start straight away.
Turn the setting on
In your WordPress dashboard, open Transferito and go to Settings.
Tick Migrate on DNS update.
Click Update Settings at the bottom of the page to save it.
Moving to the same domain? See Migrate Using the Same Domain for the full process.